Introduction
You’ve got a great idea. You’ve tried explaining it, but others don’t quite get it. So, you grab a pencil and start drawing. The Concept sketch isn’t pretty, but it’s clearer than words. With the help of Creative 3D Product Rendering services you can take that awful sketch to amazing product images.
This case-study explores how 7CGI transformed a simple idea into a tangible product using 3d product rendering techniques.
This client is a manufacturer that often introduces new products. This time, it was a pocket bag. 7CGI was hired to produce a few renderings out of the sketches provided by the client.
Communicating the Concept
We began collaborating with the client to understand the pocket bag’s design. The bag likely has unique features and is meant for a certain group of people. They wanted their product to be affordable. So, it wasn’t labeled as a luxury item. These aspects didn’t affect our work. We focused on grasping the idea so we could create exactly what they needed.

Pocket bag concept sketch

Pocket bag concept inside sketch
Collecting reference images
We asked the client to provide some reference images. For example, we do not know how his zipper is going to look in real life. So the client has provided some reference images and we collected some ourselves that we felt necessary and we can take inspiration from.

Reference images
3D Modeling & Rendering
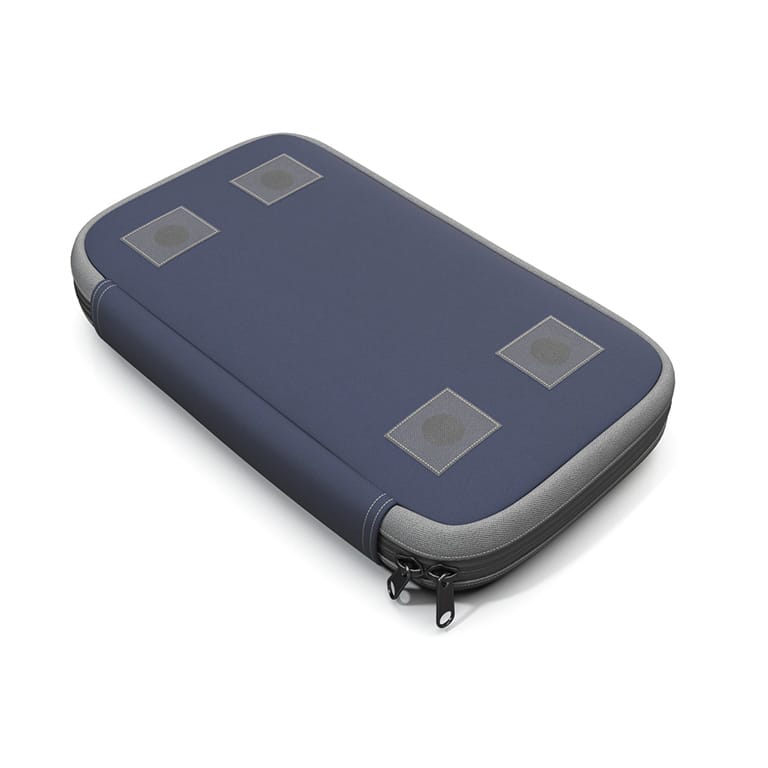
We now know how each part should appear. The team at 7CGI quickly created a detailed 3D model of the pocket bag. We always aim to send drafts that are nearly complete, making it easier for our clients to give feedback.
Here’s what we submitted in our first draft:


Revisions and Markup
The client has his product ready. However, he wants to change some design elements and make some adjustments. It looks like even though he drew the tufted cushioned back in three different sizes he actually intended all three areas to be in same size. Here is the markup we received from the client:
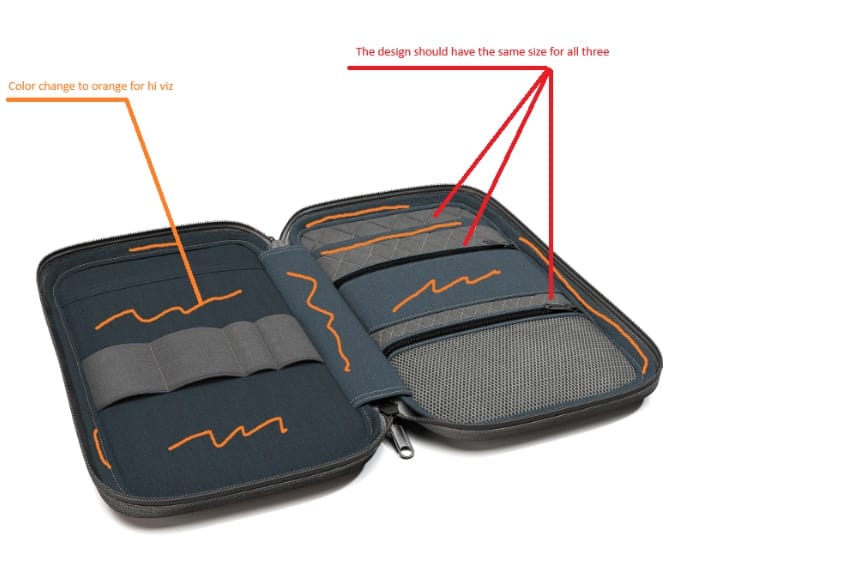
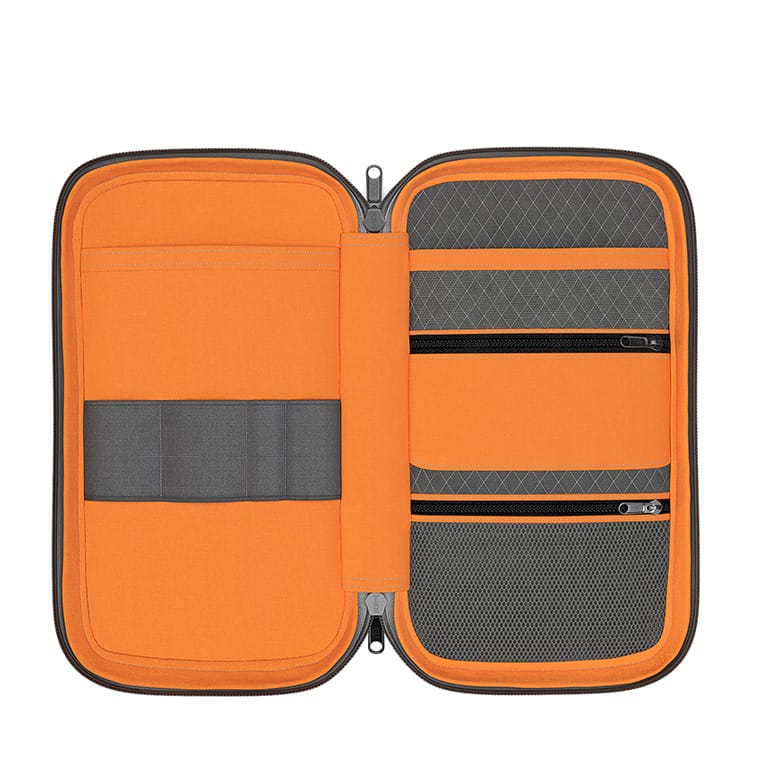
Client marked few areas to change into Orange color in revision round
The final rendering
After the client’s input, we came up with a product that he liked.
Here are the final renderings:

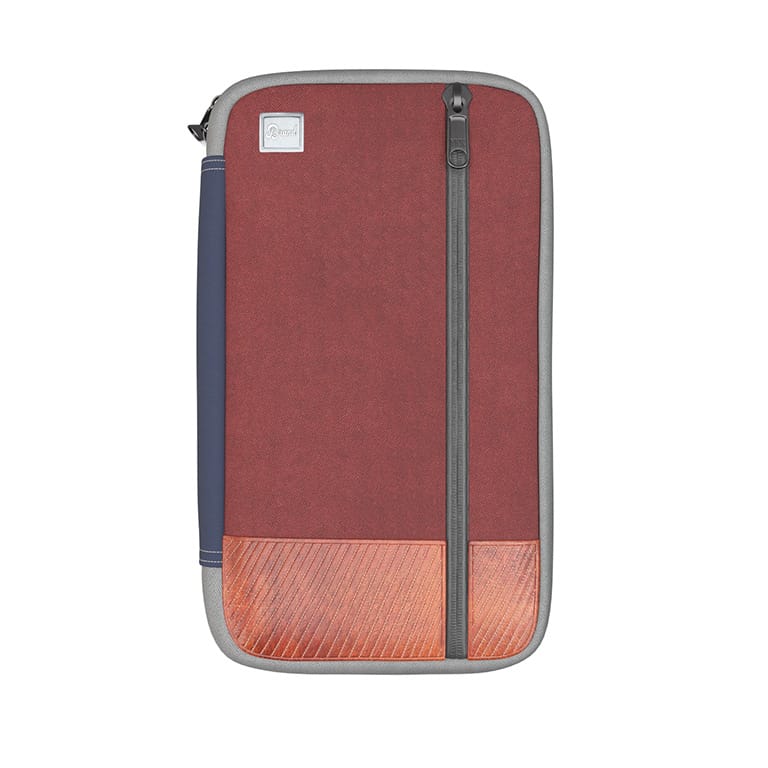
Surprisingly, the closed version of the bag hasn’t changed. He just asked for a straight-on view.
Project completion
Once we had successfully delivered this set of images, the client expressed their satisfaction with the work we delivered and officially confirmed the completion of the project. We handed over the source files and shook hands.
Conclusion
A single artist from our team could have handled the project. Yet, we involved two to ensure it was done efficiently and accurately. It’s amazing to think of all the ways the client might use these images! You can create realistic 3D renderings from just an idea. This works for any product. Nowadays, many choose to get a conceptual rendering
before they introduce a new product to the market.Do you have questions about our project process we have discussed, or do you want to chat about your product idea? We can help you with our exceptional value for money
Photo Realistic 3D rendering services. Don’t hesitate to email [email protected].