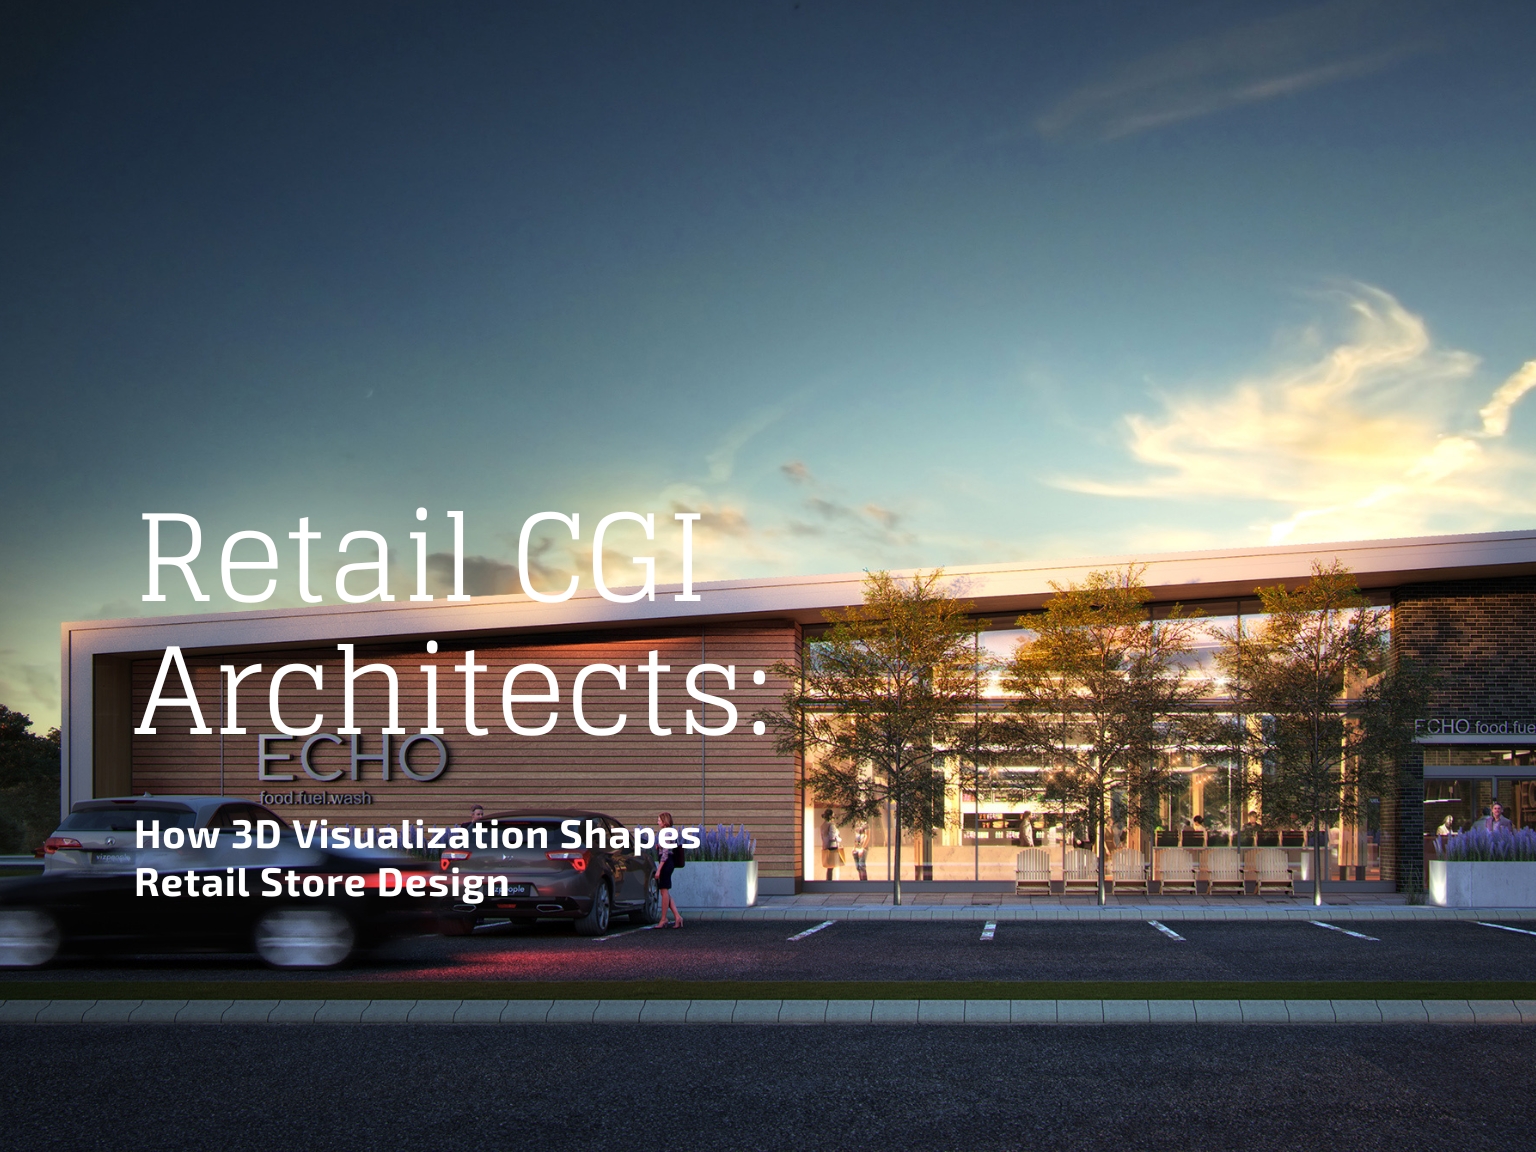
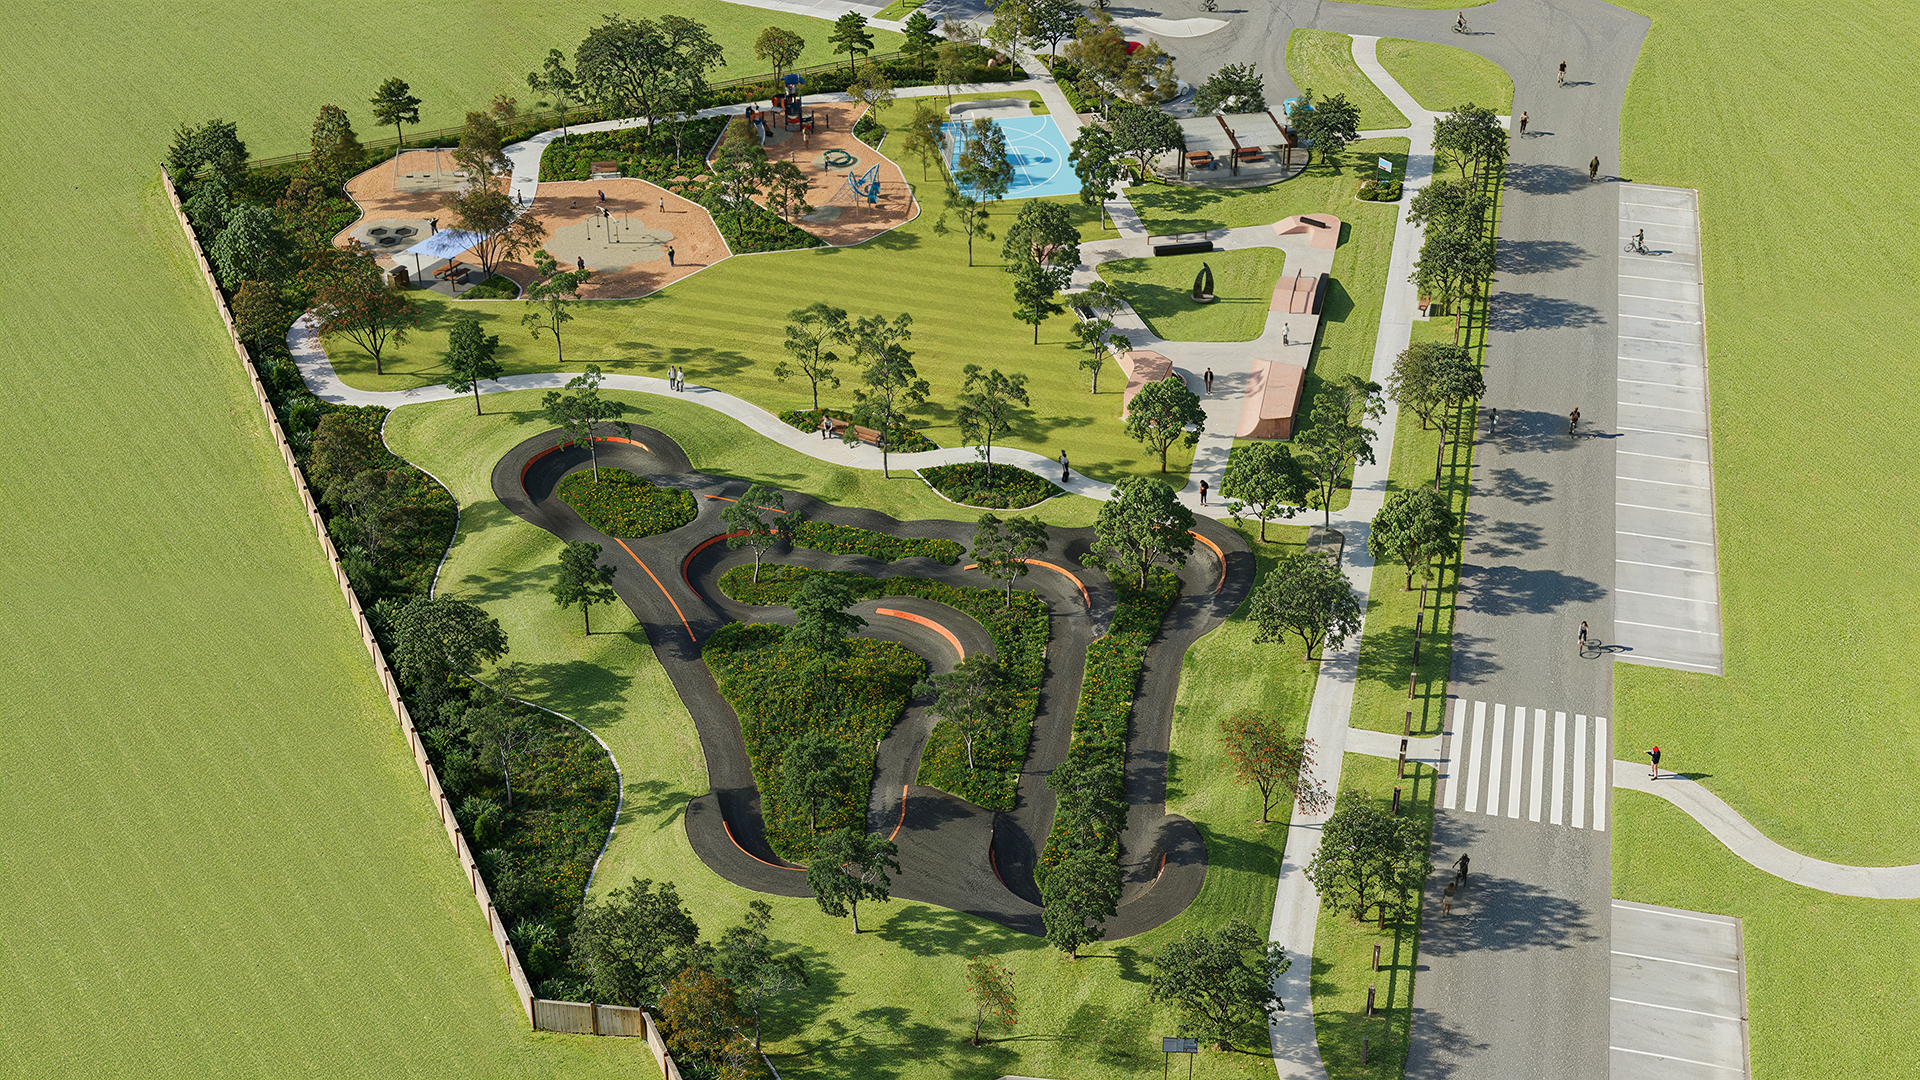
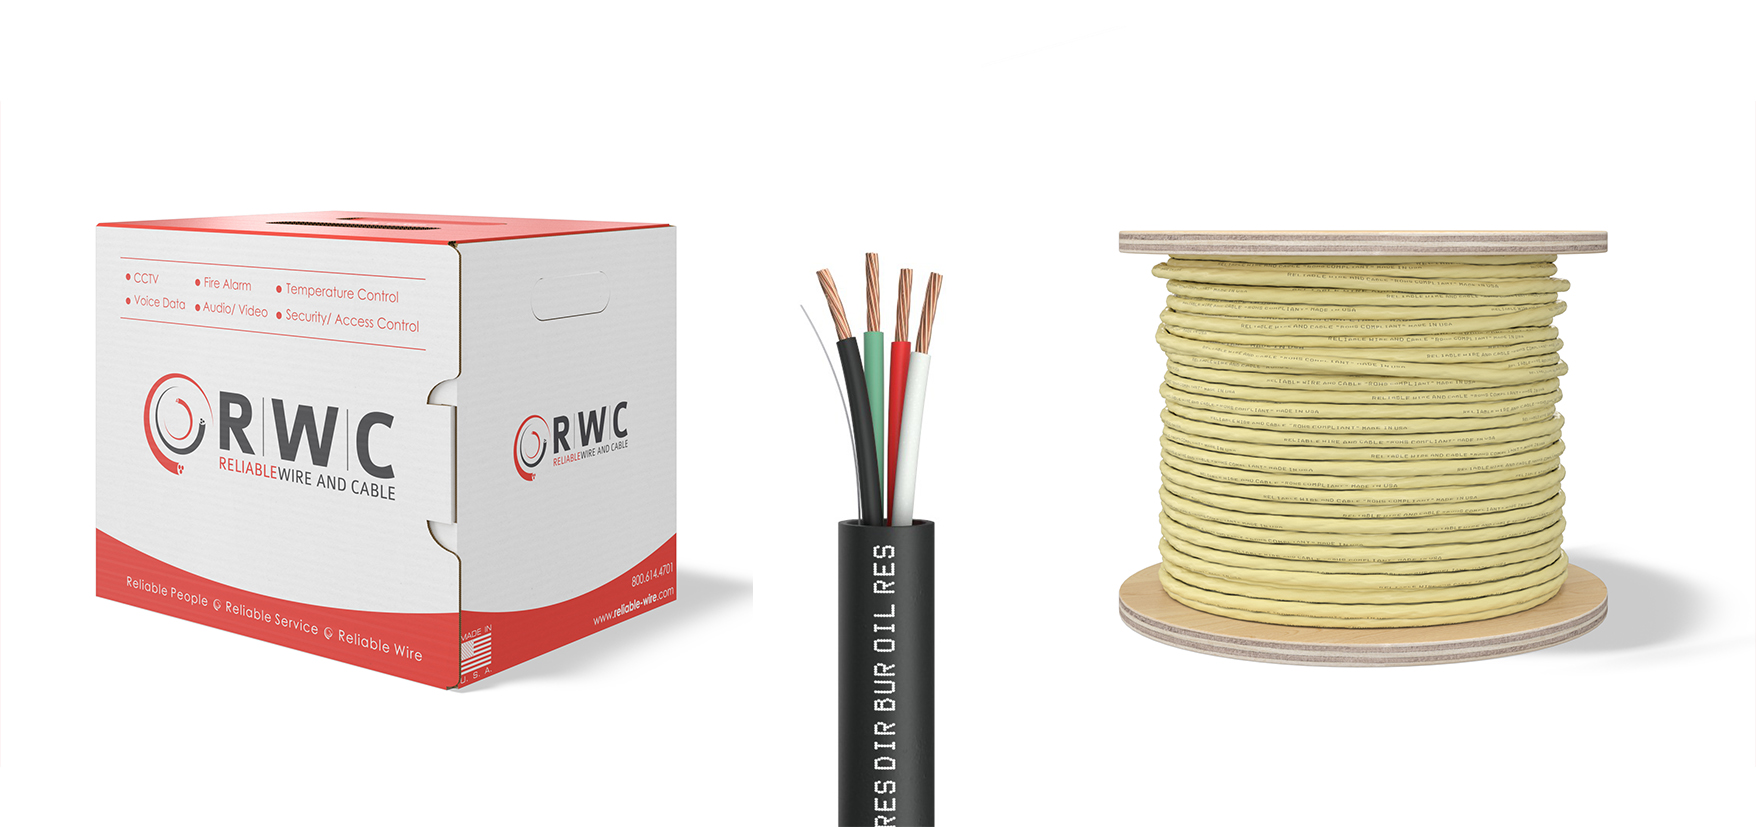
Architectural rendering is a vital tool in design and construction, allowing visualization of projects for presentations, marketing, and design refinement. High-quality renderings provide a realistic representation of architectural concepts. But what exactly goes into creating these images? This article will walk you through the comprehensive process of architectural rendering services, from initial concept to final delivery.
There is no hard and fast Process for Architectural Rendering. However, part of the process is generally universal to all studios. Here is the universal process-
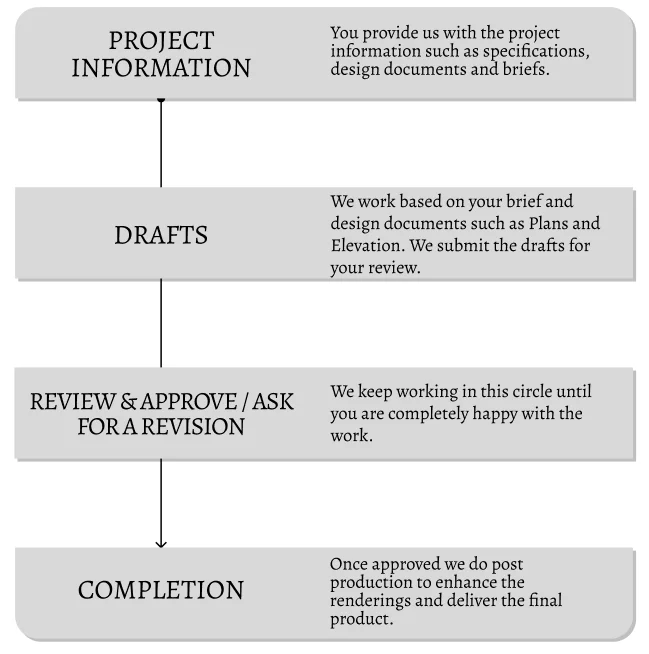
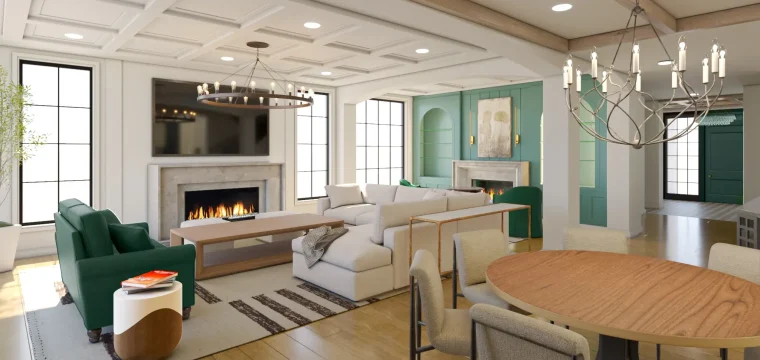
And every 3D Rendering Studio has its own way of doing it when it comes to detail. And that determines the quality of experience working with the vendor. We have been in the field since 2015 and have developed a process that we love. We used an Interior Rendering project as an example in this blog. Here we go-
1.Understanding the client’s Need:
All starts with an email. People have different concerns. They start their email with the things that concern them more. But with us, we understand each and every one of them. We know what they need to achieve 100% satisfaction.
This stage involves detailed discussions to capture the scope, purpose, and expectations for the 3D rendering project. Key elements to consider include:
- Analyzing Resources: We look at the information and resources the client has about the project. Because the quality of available resources may impact the cost too.
- Project Goals: What is the rendering intended to achieve? Is it for a client presentation, marketing material, or design review?
- Design Details: Understanding the architectural plans, materials, lighting, and color schemes.
- Target Audience: Identifying the audience to tailor the rendering style appropriately. Genreally the clients know their audience. We want to make sure we know them too.
- Deadline: A crucial factor that might affect the project greatly. We are used to tight deadlines and sharp meetings. But we need to be aware of it beforehand. Infact if the team is busy we sometimes ask about the deadline at the begining of the discussion to make sure we dont waste our prospect’s time discussing other aspects of the project while we might not be available for such a short deadline.
- Deliverables: In most cases, clients define the deliverables. They already know what they need from us. In that case, we plan and execute the work accordingly.
Some clients arrive without organized information, and some are unaware of key factors. For instance, a client approached us with only an empty plot of land, hoping for a house design. We referred him to an architect who then provided drawings and resources. With these in hand, we were able to take over and assist him further.
Once we grasp our clients’ needs, we steer them in the right direction. They seek our help, and we aim to provide it in the best way possible.
Important Note: Please check with the 3D studio to see if they have any feedback at this stage. Their extensive experience with similar projects could provide valuable insights.
2. Gathering the Necessary Resources
We already came accross some resources from the client during the initial discusion. Now its time to gather everything we might need for project completion. This may include:
- Architectural Plans and Drawings: Blueprints, floor plans, and elevation drawings provide the structural framework for the rendering. Landscape plan when you have specific design for your landscape.
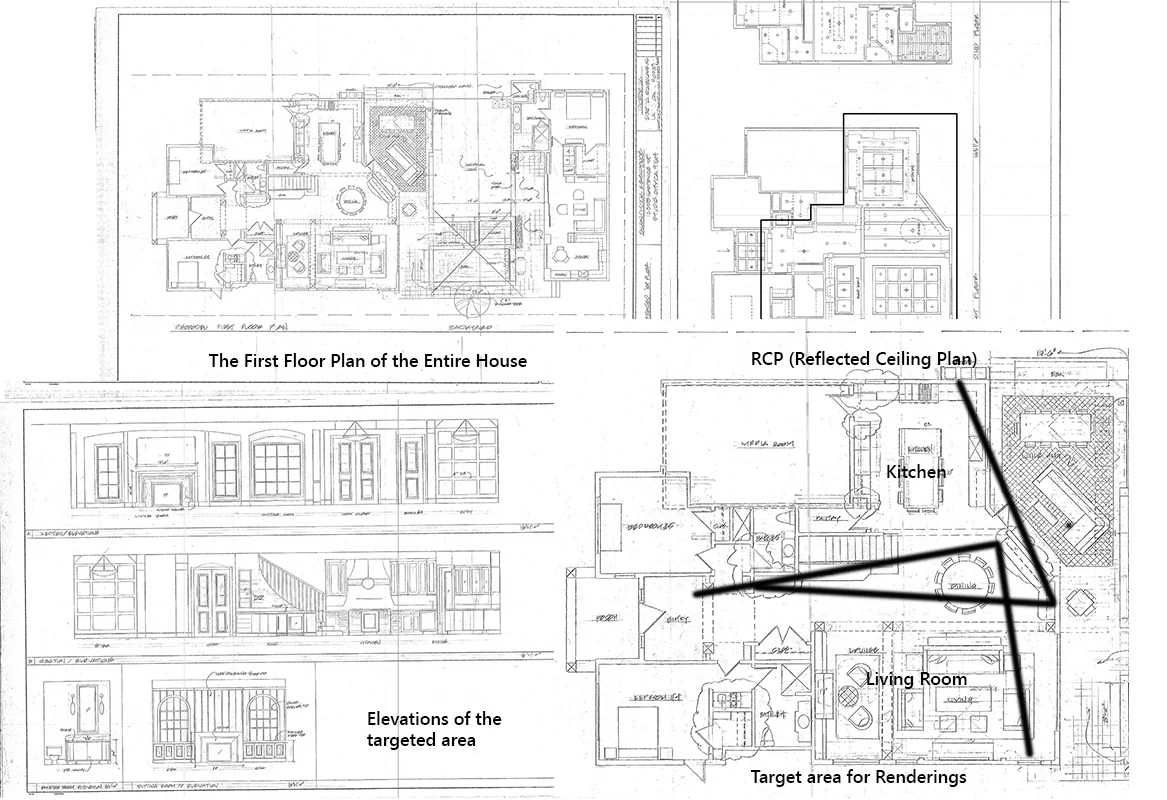
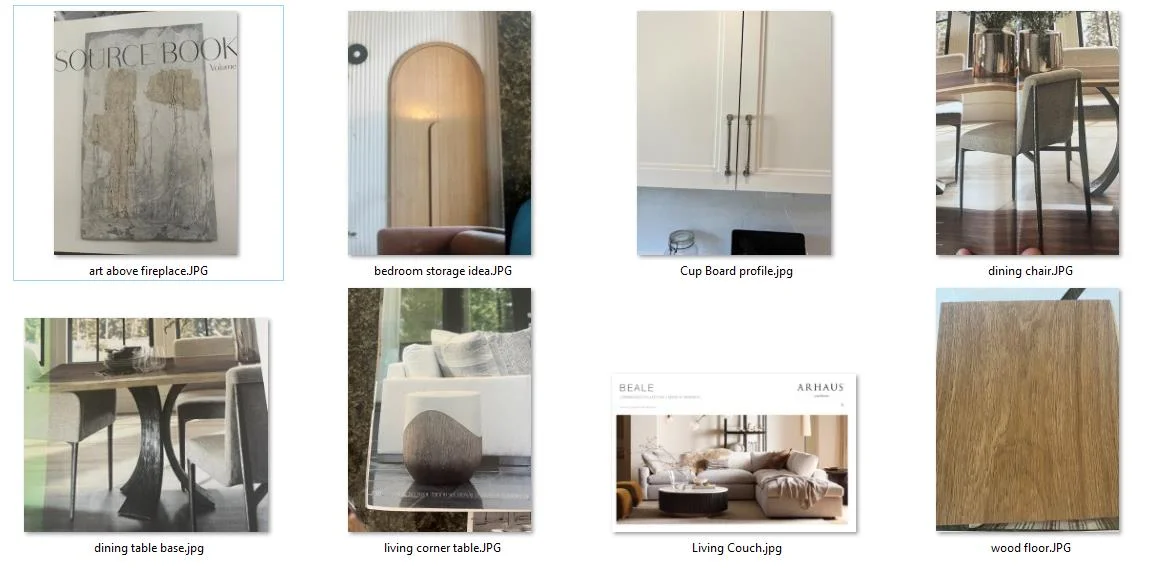
- Material Specifications: Details on materials (e.g., wood, glass, metal) help ensure accurate texturing in the rendering. FF&E in case of Interior Renderings.
- Lighting and Environment References: Understanding the natural and artificial lighting in the intended space, as well as the surrounding environment, is crucial for realism.


- 3D Models: Today many architects design in 3D Software. If available, existing 3D models can be integrated to speed up the process.
- Inspirations: We generally ask our clients for inspiration references. It helps us know their taste better.
- Competitors: We ask if the client has competitors. In some cases knowing the competitors can lead to better delivery and project satisfaction.
Ensuring all essential project information is provided upfront, 3D artists work more efficiently with complete information from the start, rather than receiving details in stages.
Important Note: Please provide inspirational images. (We can derive inspiration from the work that you love, what your competitors are doing etc) It does not only help us to understand your taste but also help us set our goals for the project.
3. 3D Modeling
So if we receive 3D Models of the architecture and the quality of the 3D Model good and does not seem to create problems in the rendering stage then we consider this as a good step forward as the first major production step in architectural rendering is 3D modeling.
If we only receive 2D Drawings (it can be in the form of sketch or CAD drawings) then we create the 3D model of out of it. The process includes Creating the Structural Framework Using the architectural plans to build the basic structure, including walls, roofs, windows, and doors. Adding Details, Refining Geometry, and Ensuring the accuracy of shapes, proportions, and scale to reflect the actual design.
Architectural 3D Modeling is the backbone of architectural rendering, setting the stage for all subsequent work.
4. Lighting Setup, Camera Angles, Composition and Rendering
Some might argue that lighting setup should come after applying materials and textures to the 3D model. However, by simulating proper lighting we can effectively measure, things like the accuracy of the 3D model, viewing angles and the light balance for each images.
So unlike others, we do the light setup Choose the right camera angles and composition to create some clay renderings.
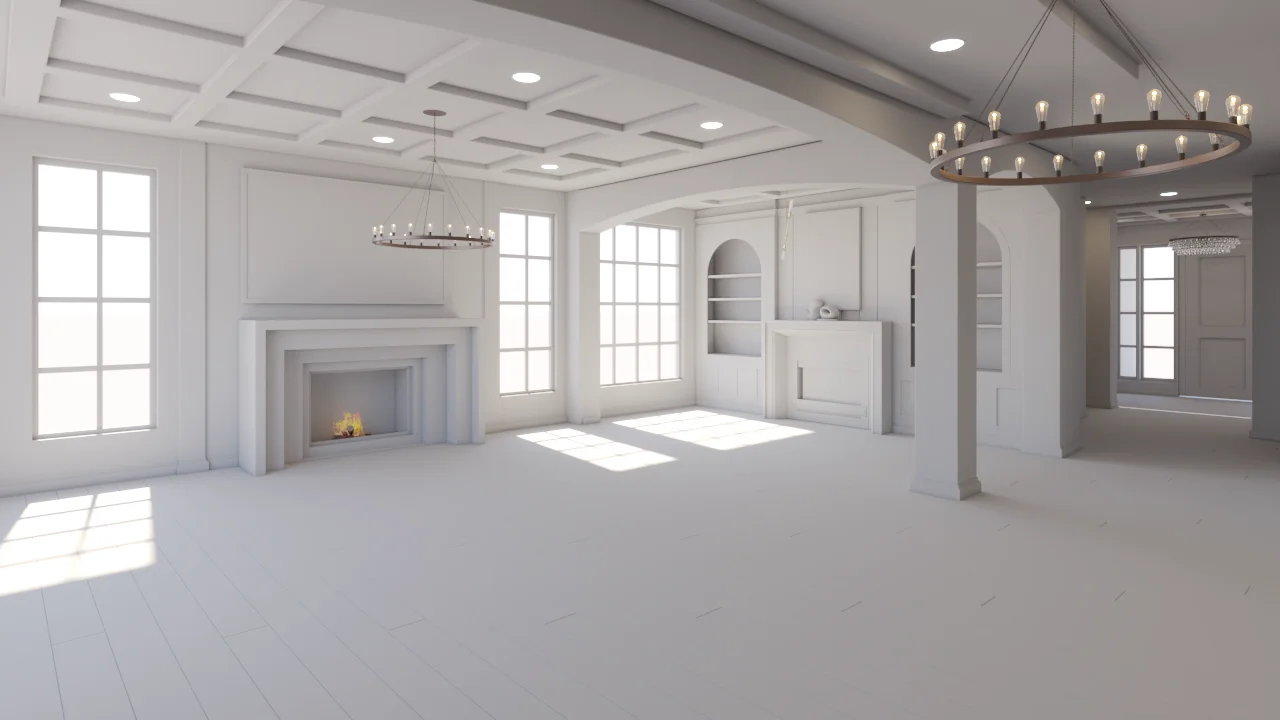
Lighting is one of the most crucial aspects of architectural rendering, significantly influencing the final image’s mood and realism. The process includes simulating sunlight, environment and artificial lighting. We make sure that the lighting setup produces nice shadows and highlights.
A well-executed lighting setup can transform a good rendering into a stunning, photorealistic image. We continue to fine tune the lighting as we move forward with materials and texture maps.
5. Texturing and Material Application
We now have feedback from our clients after meeting them with the Clay Renderings. Once the 3D Model, vewing angles, and the lighting is approved, the next step is to give these clay shots nice and realistic look by applying high resolution texture maps and colors to the 3D Model. We create great materials in combination with the texture maps call them shaders.
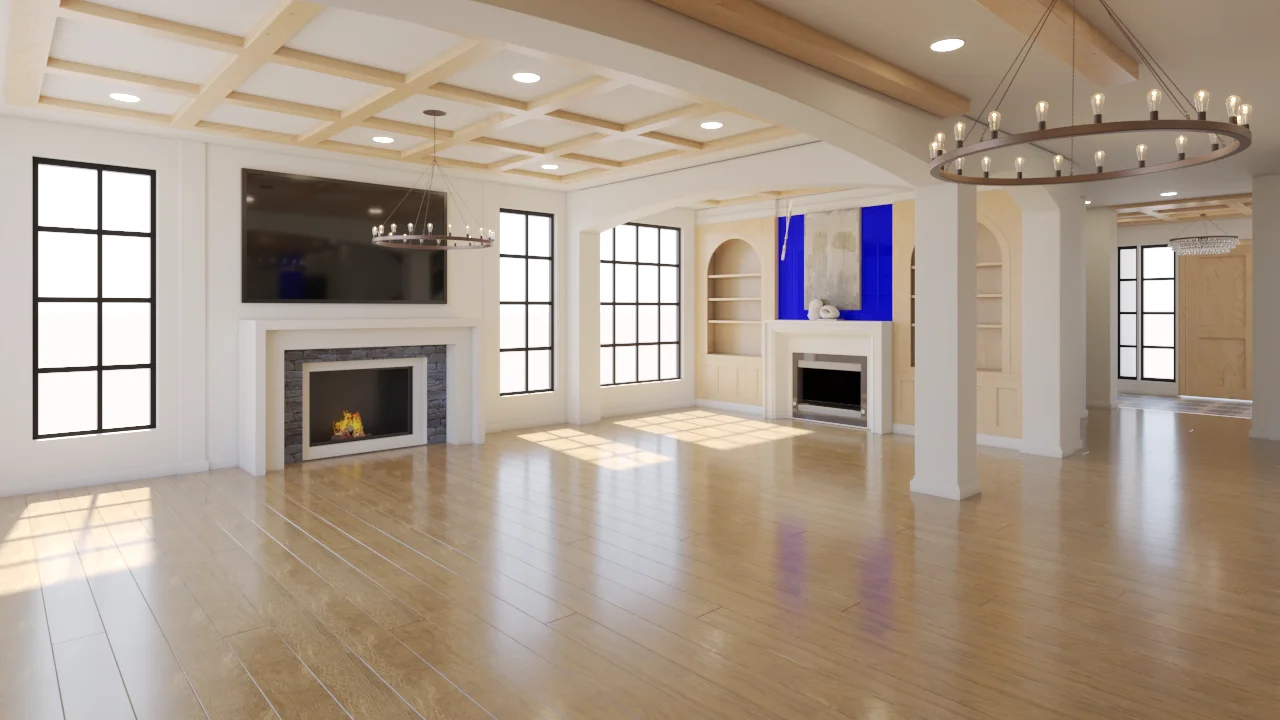
Accurate texturing is critical for creating a realistic rendering that closely matches the intended design.
We we make sure our architecture has the correct materials before we merge furniture 3D models in the interor or the vegetations in the exterior scenes. Because merging them makes the 3D scene heavier and can make the rendering process slower. 3D Rendering takes longer when the scene is heavy.
Important Note: while simulating accurate materials 3D artists do a lot of test renders. This is why it is important to have the materials right before the scene becomes heavy with props.
6. Rendering Colored Drafts to Final Images
A house without vegetation and an interior without its props are blunt and feel empty. We the props to asses the architecture properly. After the client has approved the empty colored renderings we merge props (furniture and fixtures)/vegetation to the scene and produce the first colored drafts. We send the drafts for client review. Once approved we increase the render setup and hit render button for final rendering.
The result of this step is a high-quality image that closely resembles a photograph of the intended design.
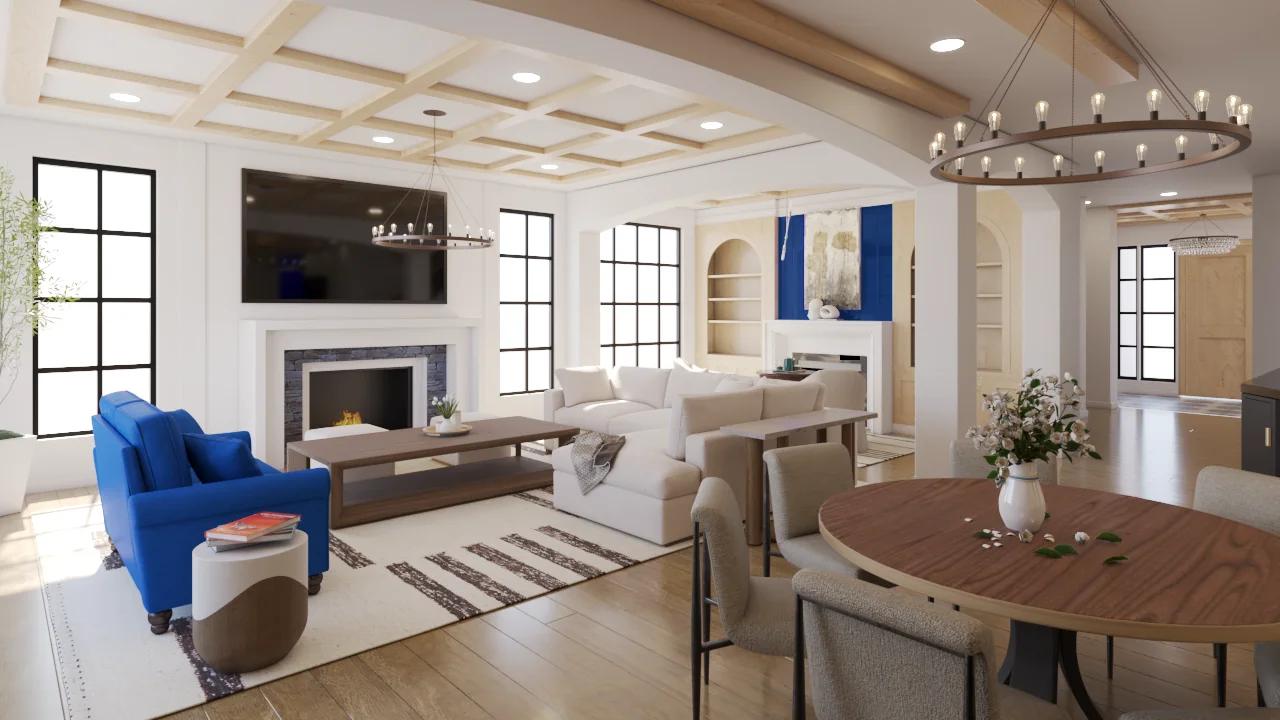
7. Client’s Final Review and Revisions
Many professionals prefer sending only the final images to clients to prevent confusion. We follow this approach when we sense it aligns with client preferences. However, we often foster strong communication with our clients, who typically value frequent updates and enjoy seeing their project’s progress. So the image becomes ready for final feedback before we do any post processing to the rendered images. This way we avoid redoing the post processing work.
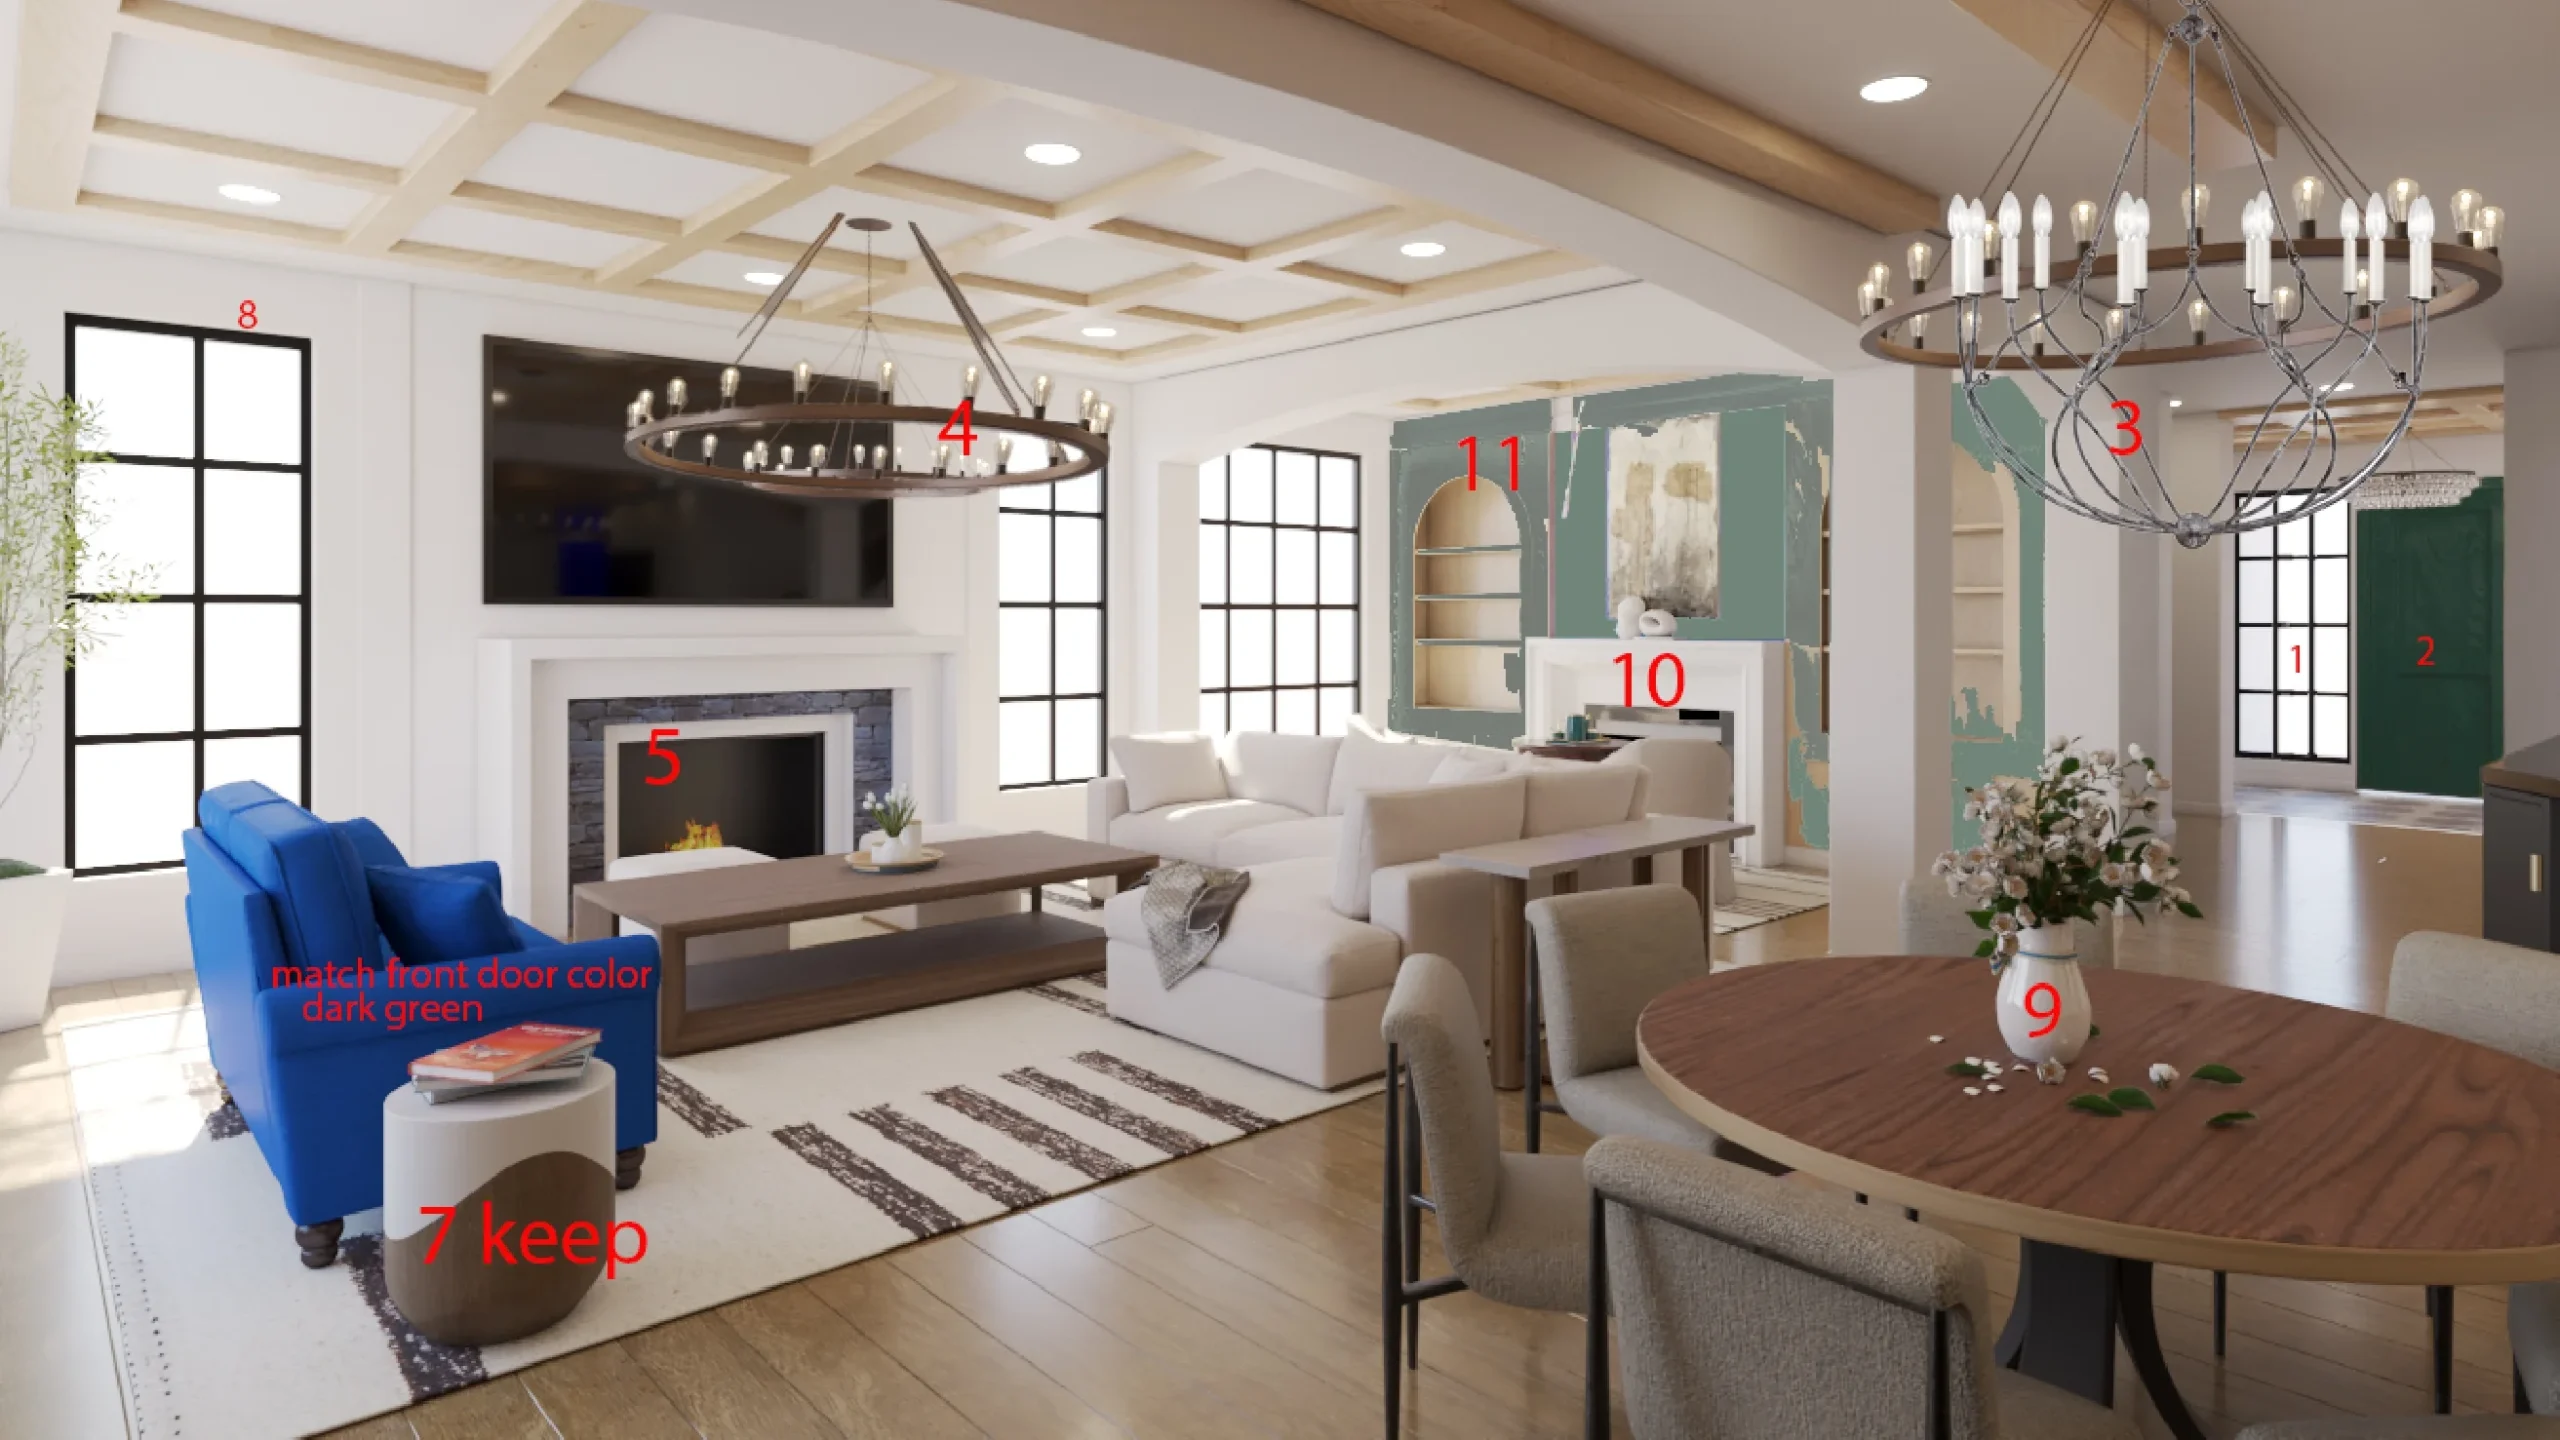
8. Post-Processing
After rendering, the image often undergoes post-processing to enhance its final appearance. This stage can include
- Color Correction: Fine-tune color balance, contrast, and brightness for the right visual appeal.
- Adding Effects: Apply effects such as glare, bloom, or depth of field for added realism.
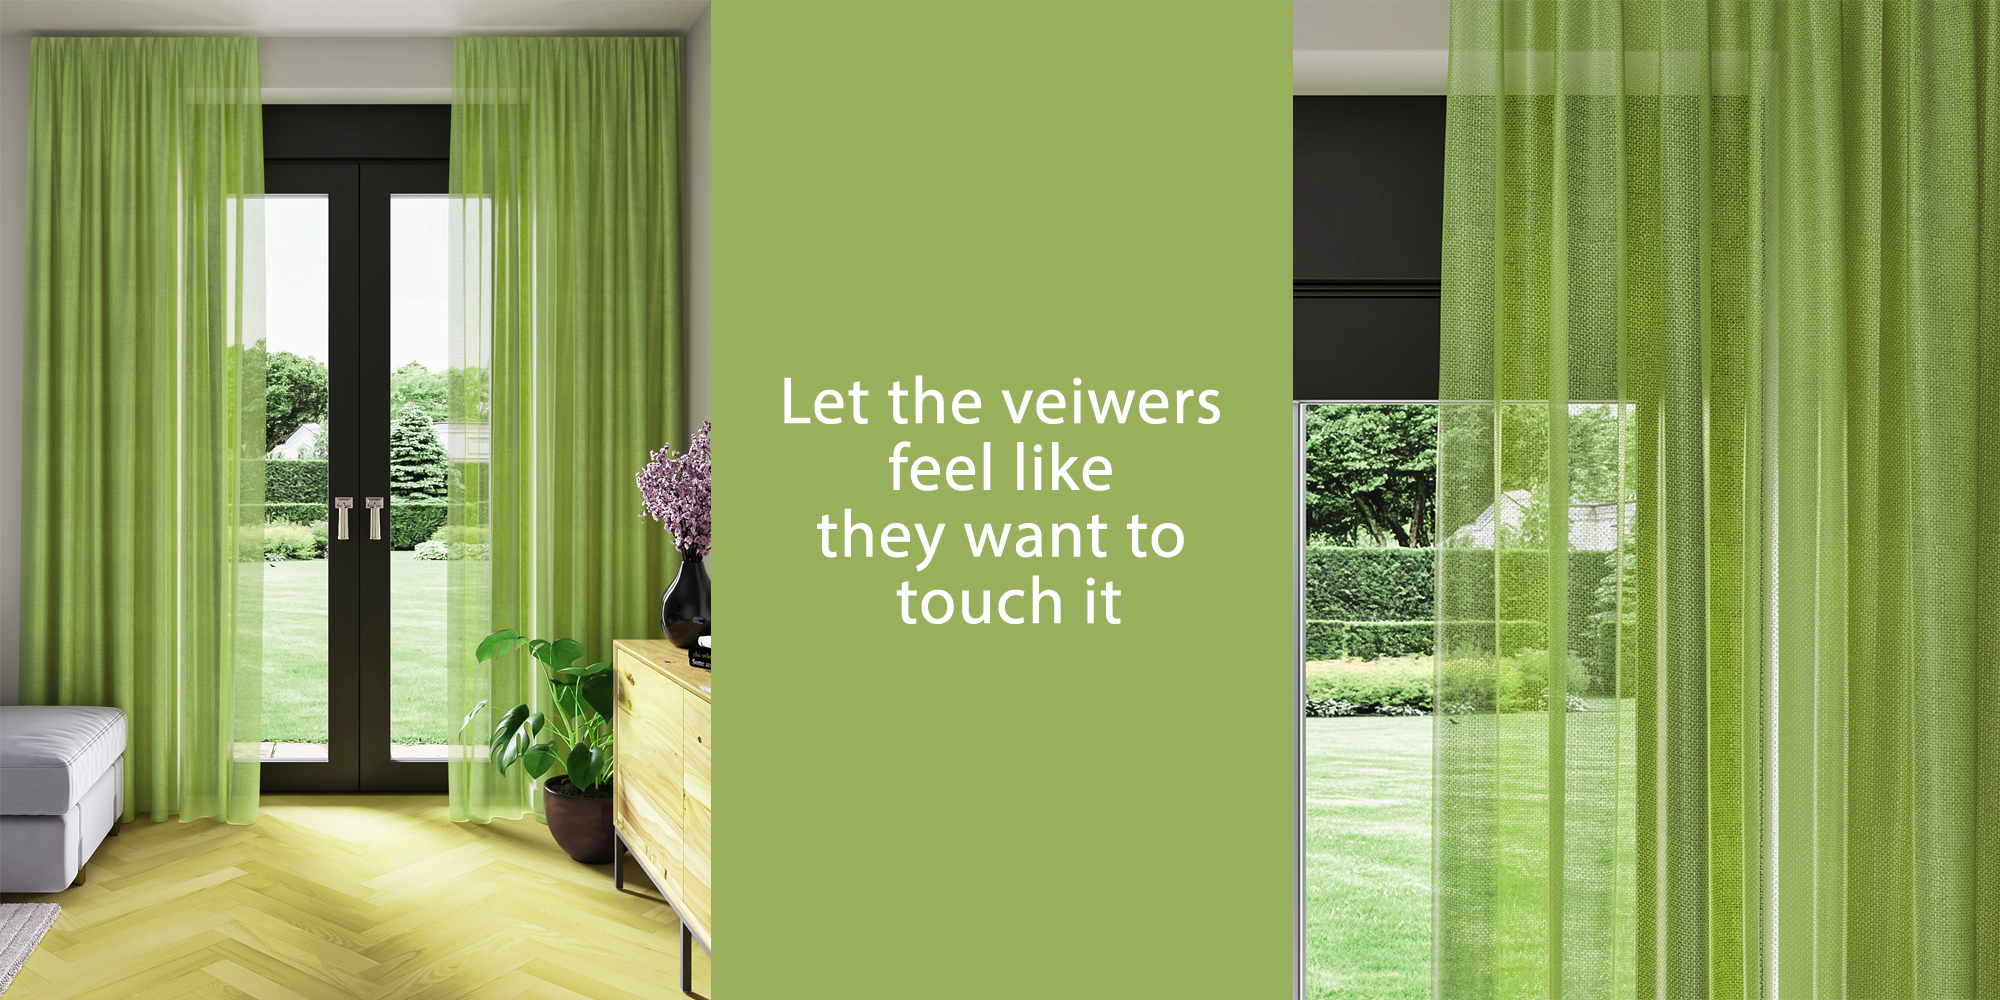
- Adding details: Details such as leaves decals or any other imperfections of the real world that can make the images look more photorealistic.
- Adding people: Even though 3D people have improved a lot today. but still not there to let them get close to the camera. in this case we often rely on 2D cutout people.
- Final Touches: Polish details by reducing noise, tweaking shadows, and inserting reflections.
- AI touch: We use some AI applications to enhance the image to the next level. Basically we do a lot of things with the AI that we would have done it manually in the past.
Post-processing ensures the rendering is polished and ready for presentation or marketing.
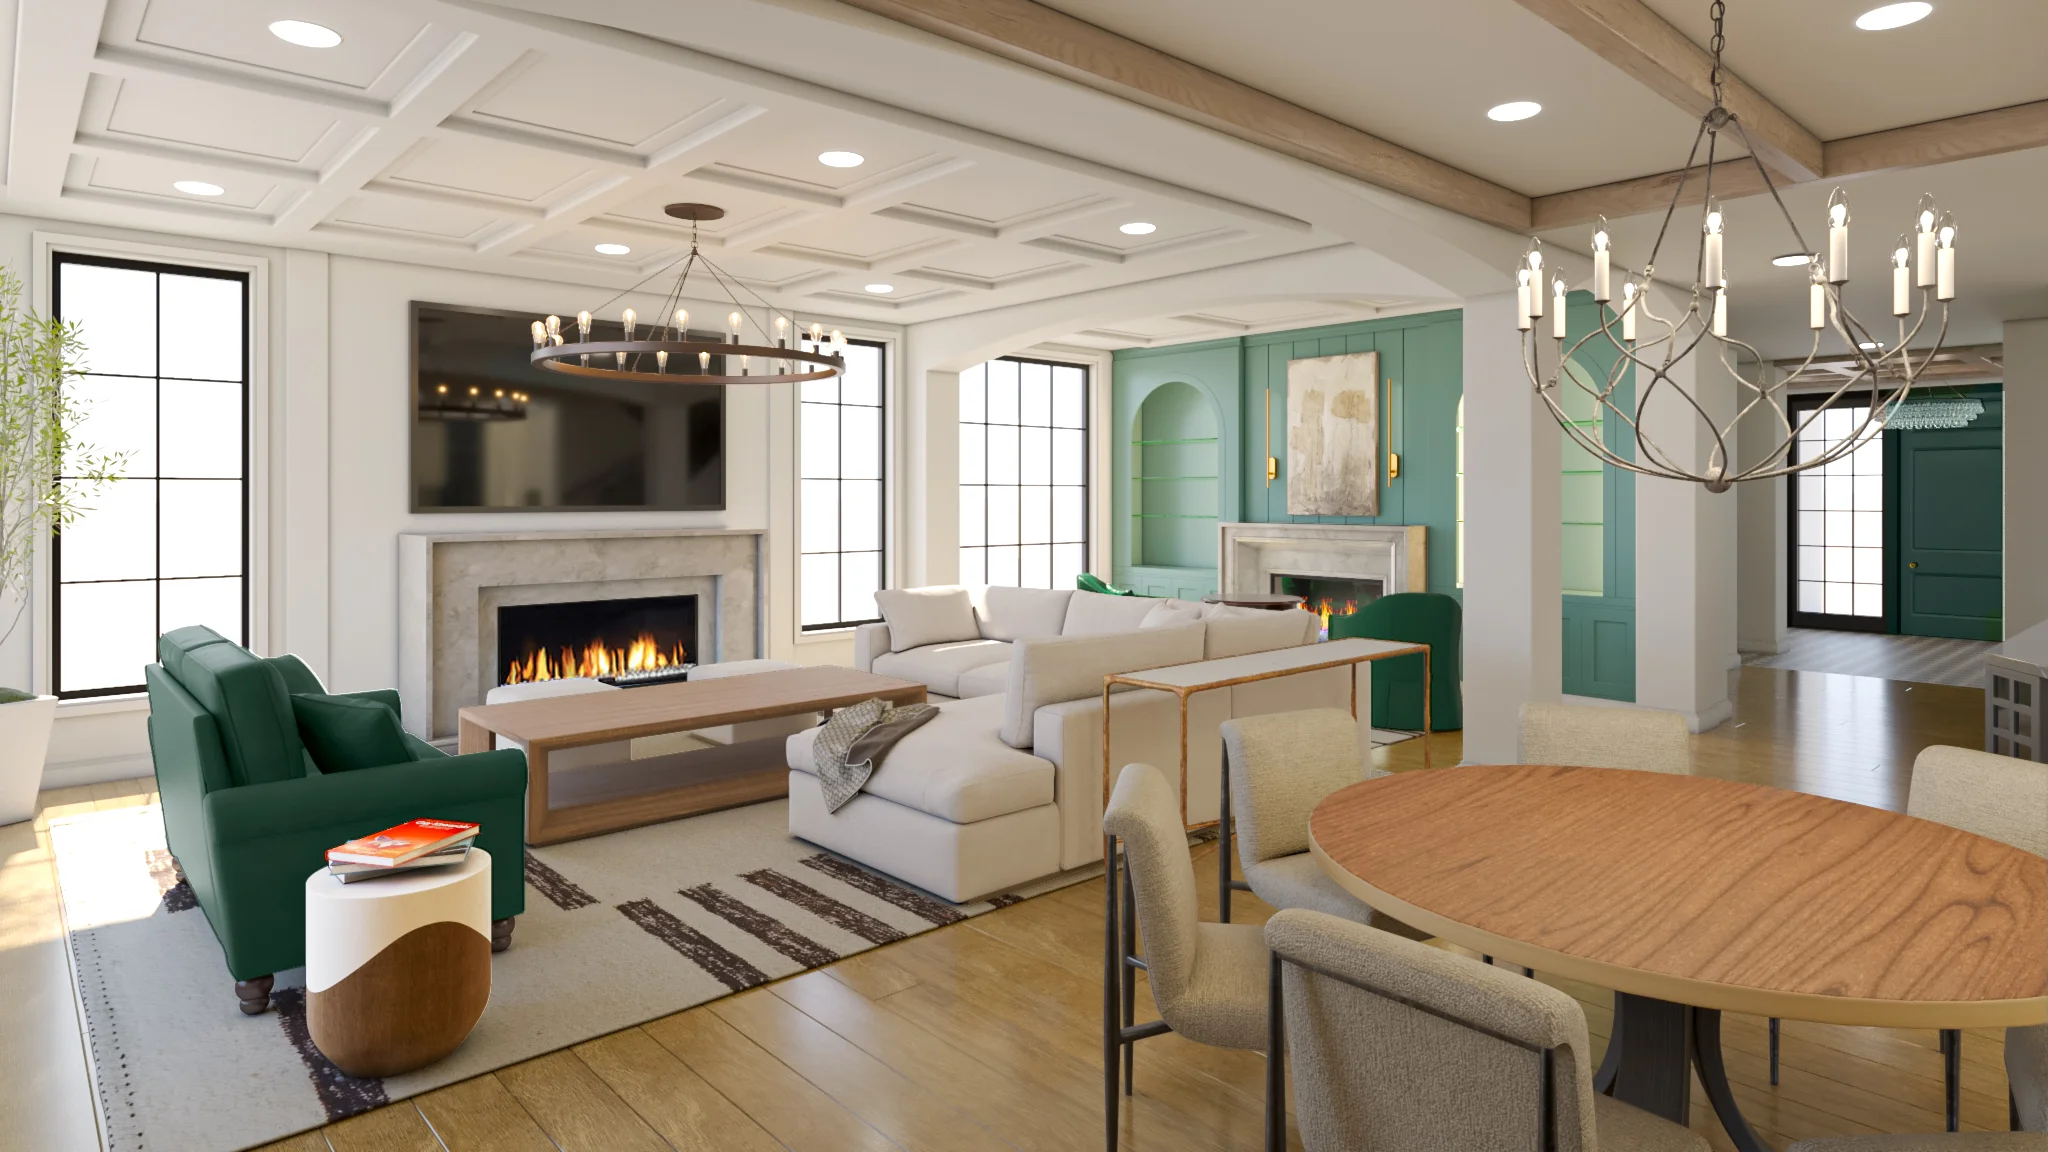
9. Final Delivery
The final step is delivering the completed rendering to the client. We upload the files to Dropbox, Google drive or to our own file server. Where you can download everything you asked for and need for your project. That may include source files if required.
Last words
The process of Architectural rendering services may seem complex if it is introduced to someone new to the industry. But trust me, the entire process is transparent and as smooth as a pie.
Work with us on a project. You will enjoy the simplicity and the transparency. You know everything runs smoothly when the work is at the right hand.

