Exploring the World of 3D Product Rendering

3D Product Rendering | Everything you need to know

23 min read
Last Updated on December 6, 2024 by Abdullah Al Baki
Table of Contents
3D Product Rendering is Changing the Way Businesses Showcase Their Products. Combining the best of creativity and technology, 3D rendering makes hyper-realistic imagery that gives a product a digital life. So this is your ultimate guide on 3D product rendering, & everything you need to know about product rendering in 2025. Take a cup of coffee and continue reading.

What is 3D Product Rendering?

3D product rendering is the process of creating highly detailed and lifelike 3D visualizations of a product, serving as a digital alternative to traditional product photography.
 
It also refers to the 3D Rendering of the product itself when used as a noun. Unlike traditional photography, the process creates life-like visuals from 3D models that let businesses showcase products at the next level of beauty. Learn about 3D Product Modeling here.
 
Unlike photography, which requires costly studio setups and professional photographers, product rendering offers a more efficient and cost-effective solution. All the product launch videos of Apple, Samsung, and other brands you see use 3D rendering! You can produce high-quality content that would not be possible with just general photography techniques.

3D Product Rendering in Various Industries
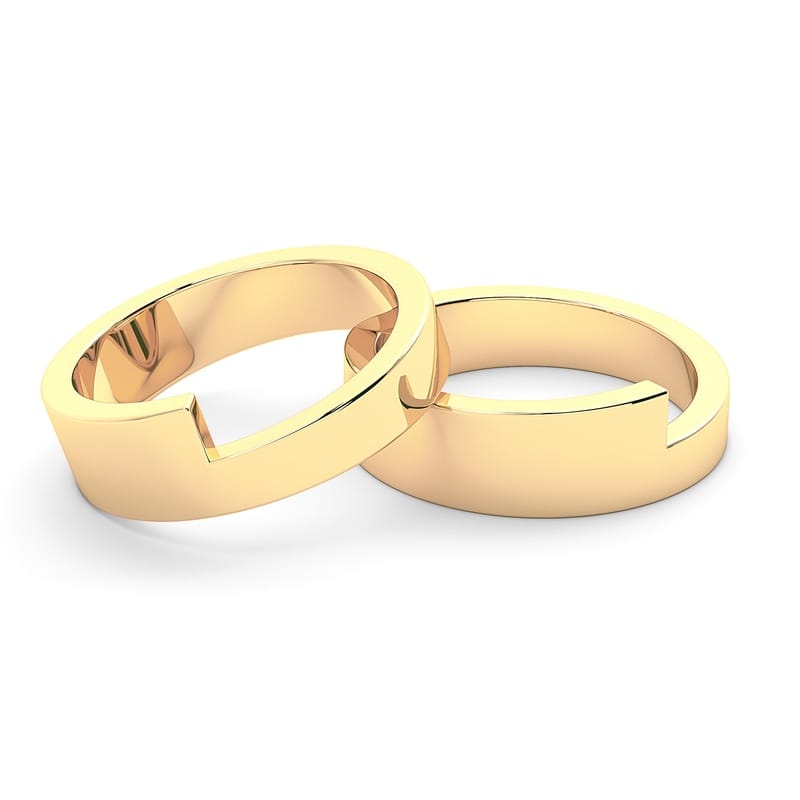
Anyone who wants to give his product a digital existence would benefit from 3D Product Rendering Services. 3D Product Rendering is broadly used in any consumer product industry, such as electronics, vehicles, beauty, beverages, furniture and home decor, sports and toys, robotics, jewelry, clothing, etc.
While some of these niches rely partially on it, others, such as beverages, jewelry, electronics, and vehicles, rely heavily on it. Partially, because based on use-cases, sometimes the companies must do photography; otherwise, they use product rendering more for their needs. 7CGI has contributed to almost all of these industries with its world-class product rendering services.
It’s widely used across industries for applications such as product marketing, e-commerce, and prototyping. From sleek car rendering to intricate jewelry rendering, 3D Product rendering is an essential tool for businesses looking to stand out. Here are some of our product Rendering work for various companies- 
 
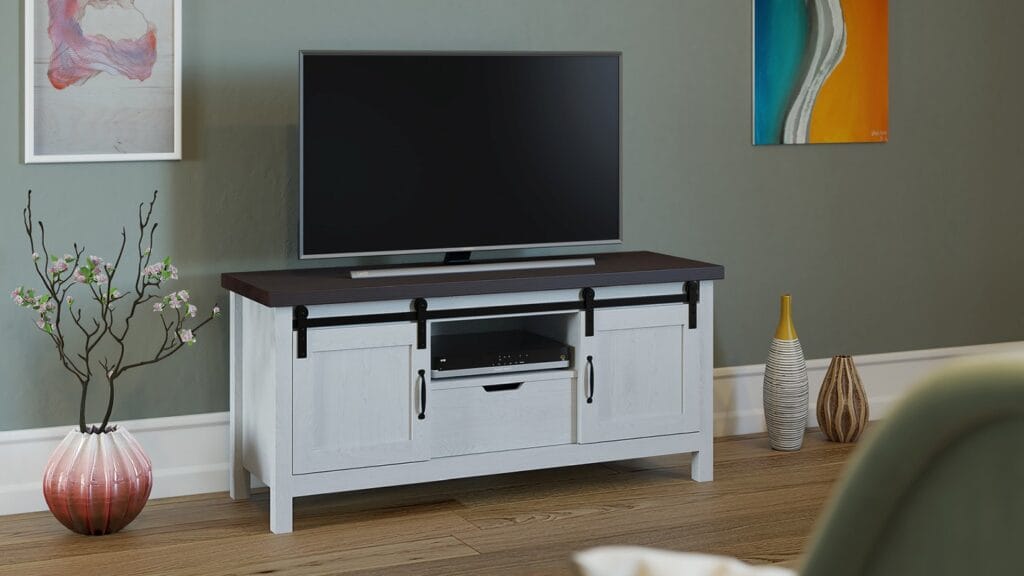
Lifestyle 3D Product rendering of a TV cabinet table
Lifestyle rendering of furniture

The subject in the 3D product visualization above is the television console. Everything you see is set up virtually on 3D software. All the items other than the console are propping the image. The rendering inspires the viewers and helps them imagine the product in their own context.
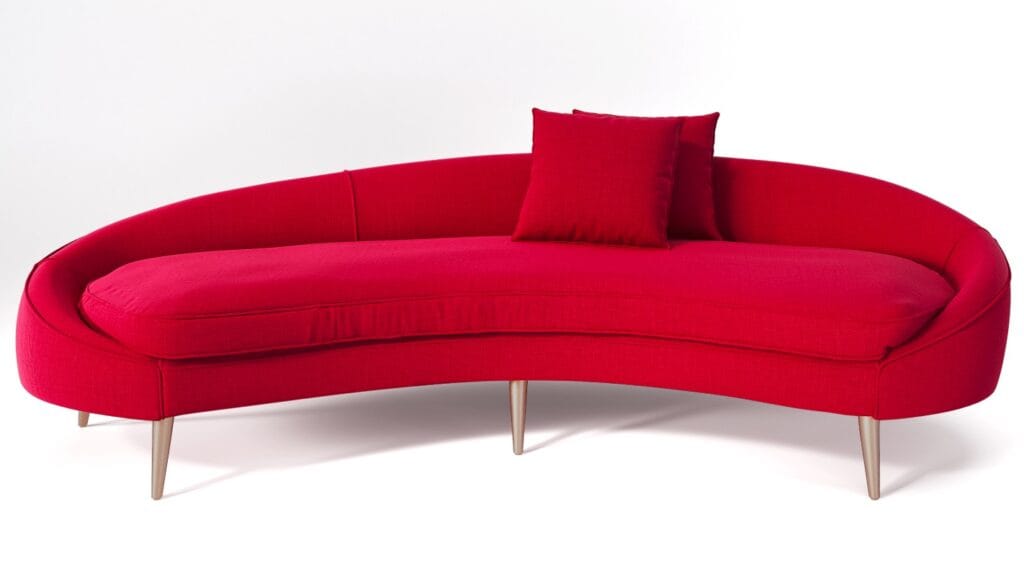
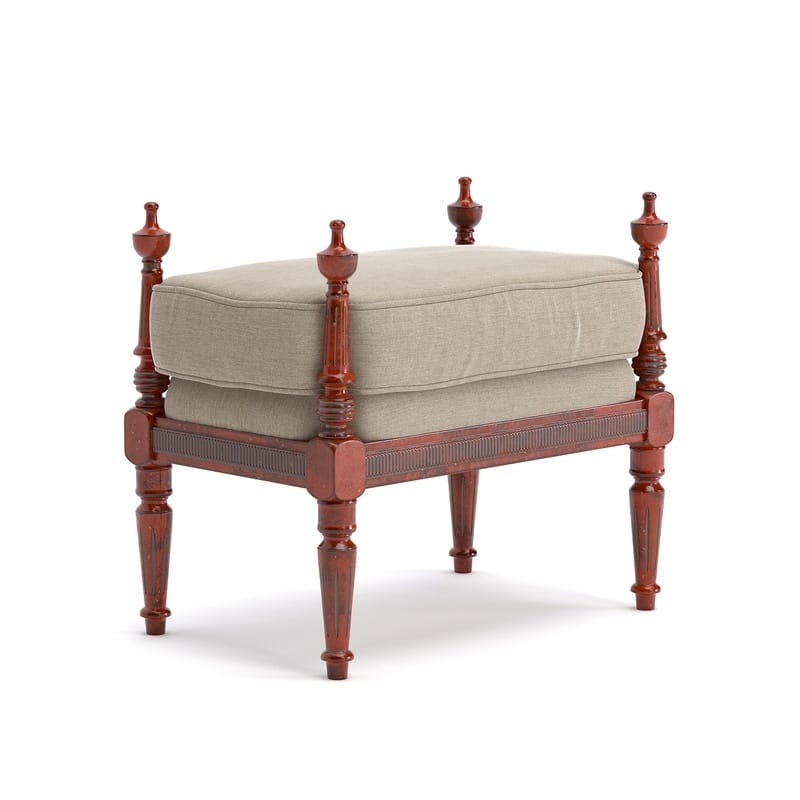
3D furniture Product rendering on a white background
3D sofa rendering on a white background | 7CGI

The image above is a Rendering of a sofa named “Tiffany” from the UK’s famous Graham and Green furniture brand. These types of images are used on online or printed product catalogs.
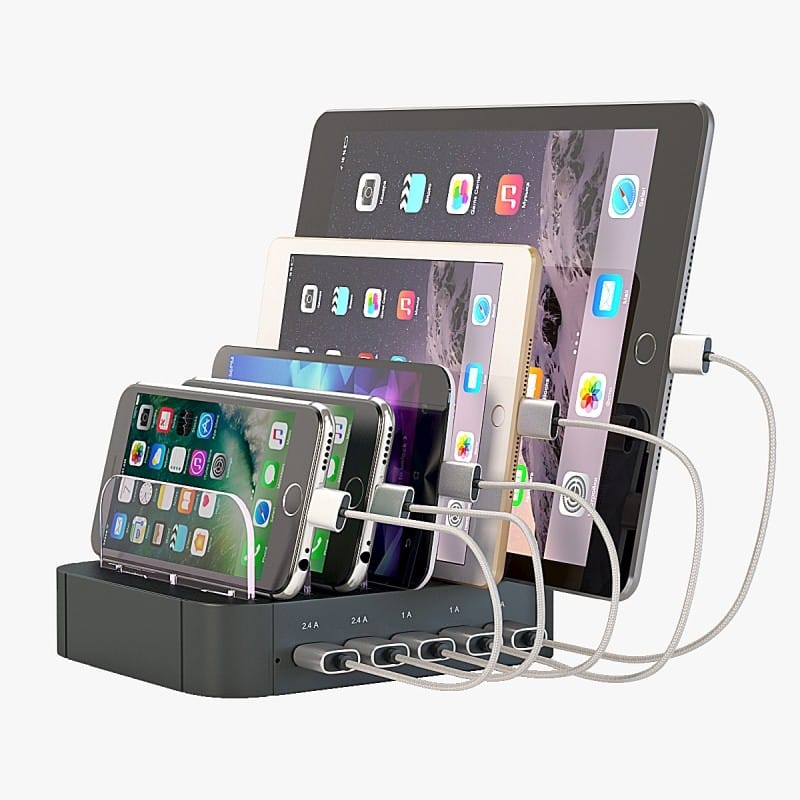
A smart charging station for gadget 3d rendering sample
Electronics 3d product rendering | 7CGI

The Rendering above showcases a charging station released in 2016. The client did not need any physical devices to create the image above. All they provided the 7CGI team was a couple of casual photos of their device and an explanation of the idea, and we did the rest.
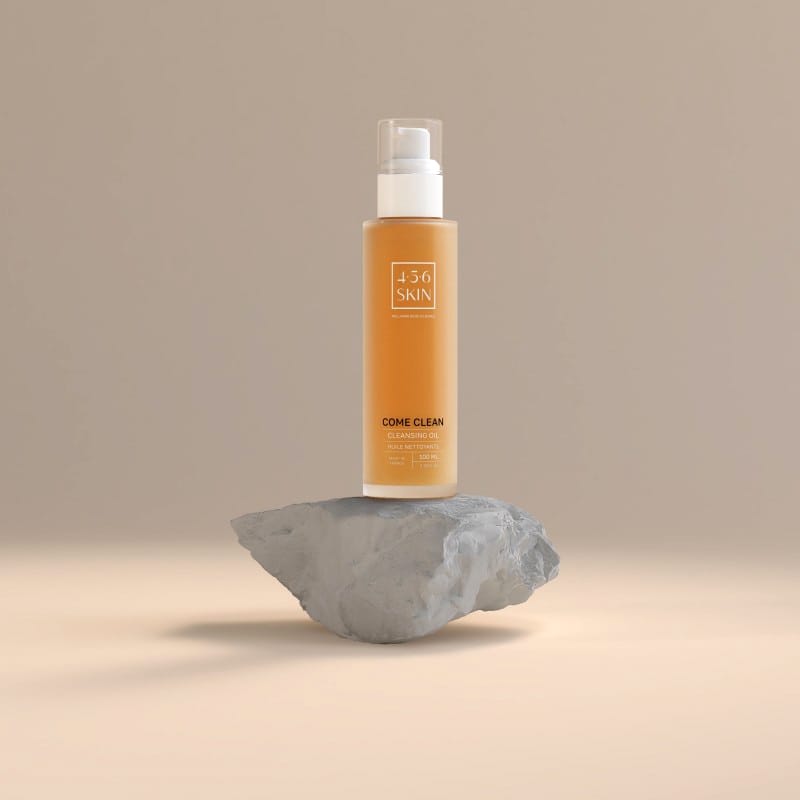

Beauty product 3D rendering
Beauty product 3D rendering | 7CGI
3D Product Render of Supplement Bottle
3D Product Render of Supplement Bottle | 7CGI

If you are compelled to see more of our work for many niches besides what is displayed above, please visit our product Rendering portfolio.

The Process of 3D Product Rendering

The technical Process depends on purpose. If you are aiming to create marketing content then the process would be way different than if you would aim for design validation or to explain the functionality of complex products. For design validation or 3D infographics, conceptual renderings might suffice while for marketing and selling on e-commerce you need photorealistic rendering.
 
But generally, the process is almost no different than a typical 3D Rendering process. Here is how it works in detail-
 
1. Concept and Planning
Before starting the rendering process, the following are established:
  • Objective: Define the purpose (e.g., e-commerce, advertising, prototyping).
  • Specifications: Gather product dimensions, materials, textures, and other design details.
  • References: Collect reference images or sketches of the product.
Concept Sketch
Concept Sketch of a Pocket Organizer
This phase is genrally taken care of by the client. The 3D Rendering studio makes sure that these are in place to be able to start working.

2. 3D Modeling
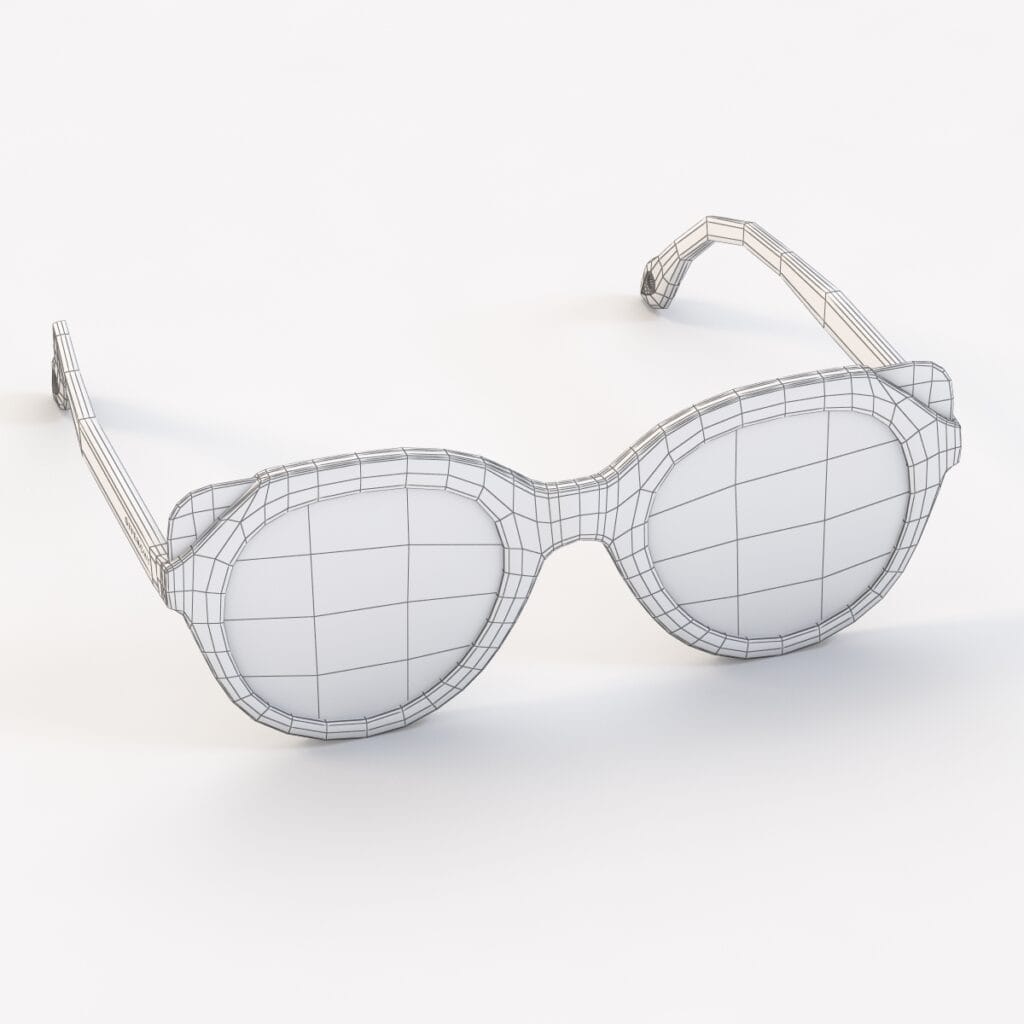
The rendering process begins with creating a 3D model, which serves as the foundation for the entire project. Use software like Blender, Autodesk 3ds Max, or Maya to create a 3D representation of the product. (At 7CGI we use Autodesk 3ds Max & Blender.) Ensure the model matches the product’s real-world dimensions and design. Maintain clean and efficient topology for smooth rendering and performance. 

3. Texturing and Material Application

Textures and materials are added to make the 3D model look realistic.
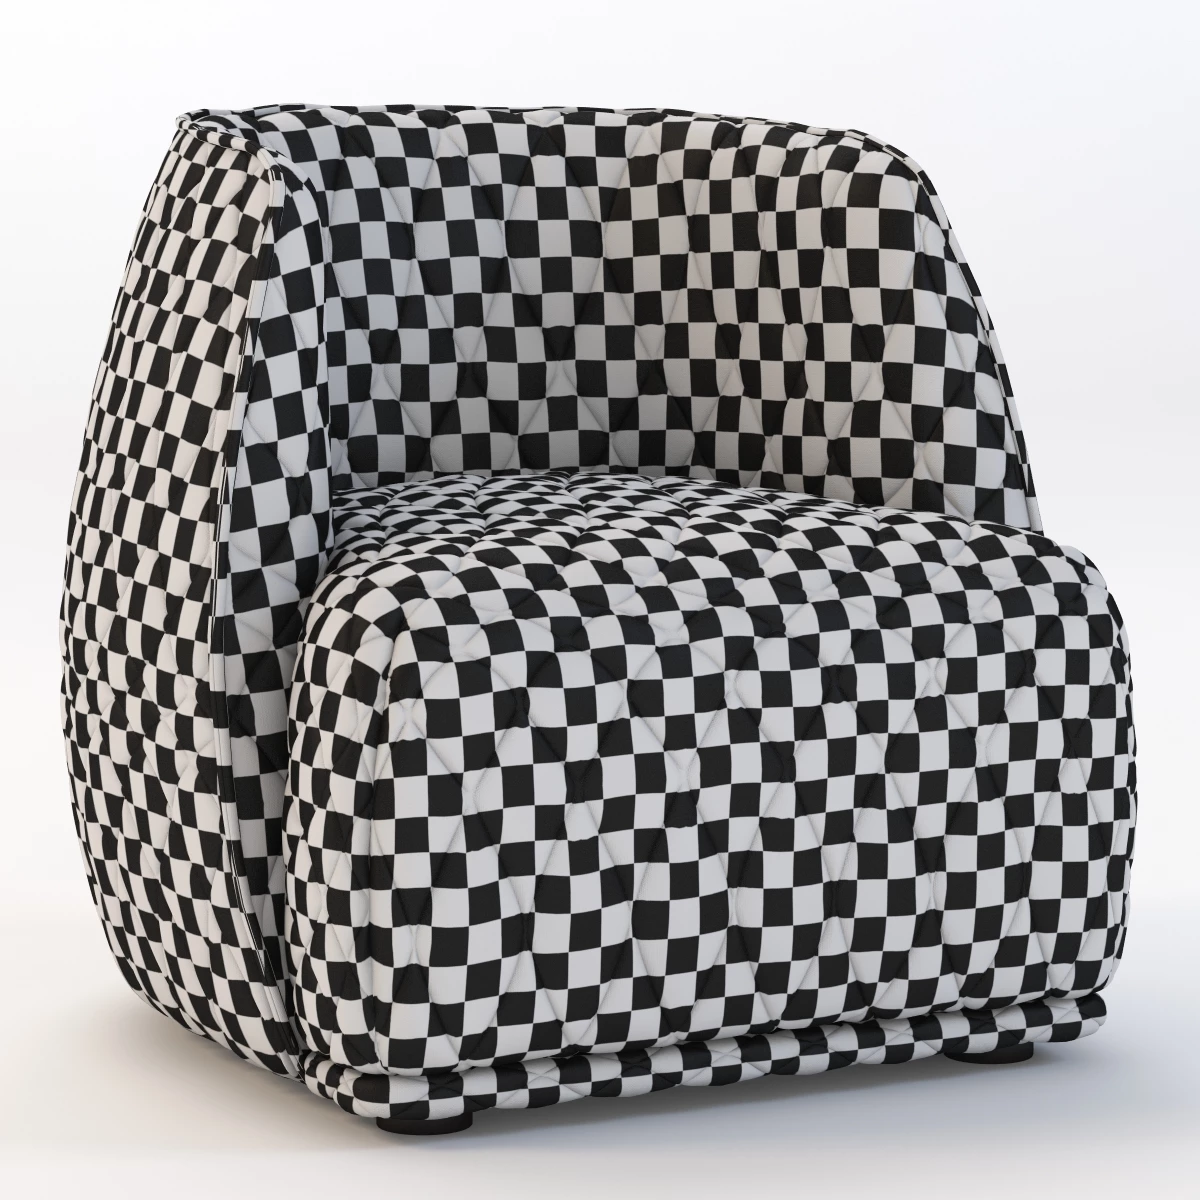
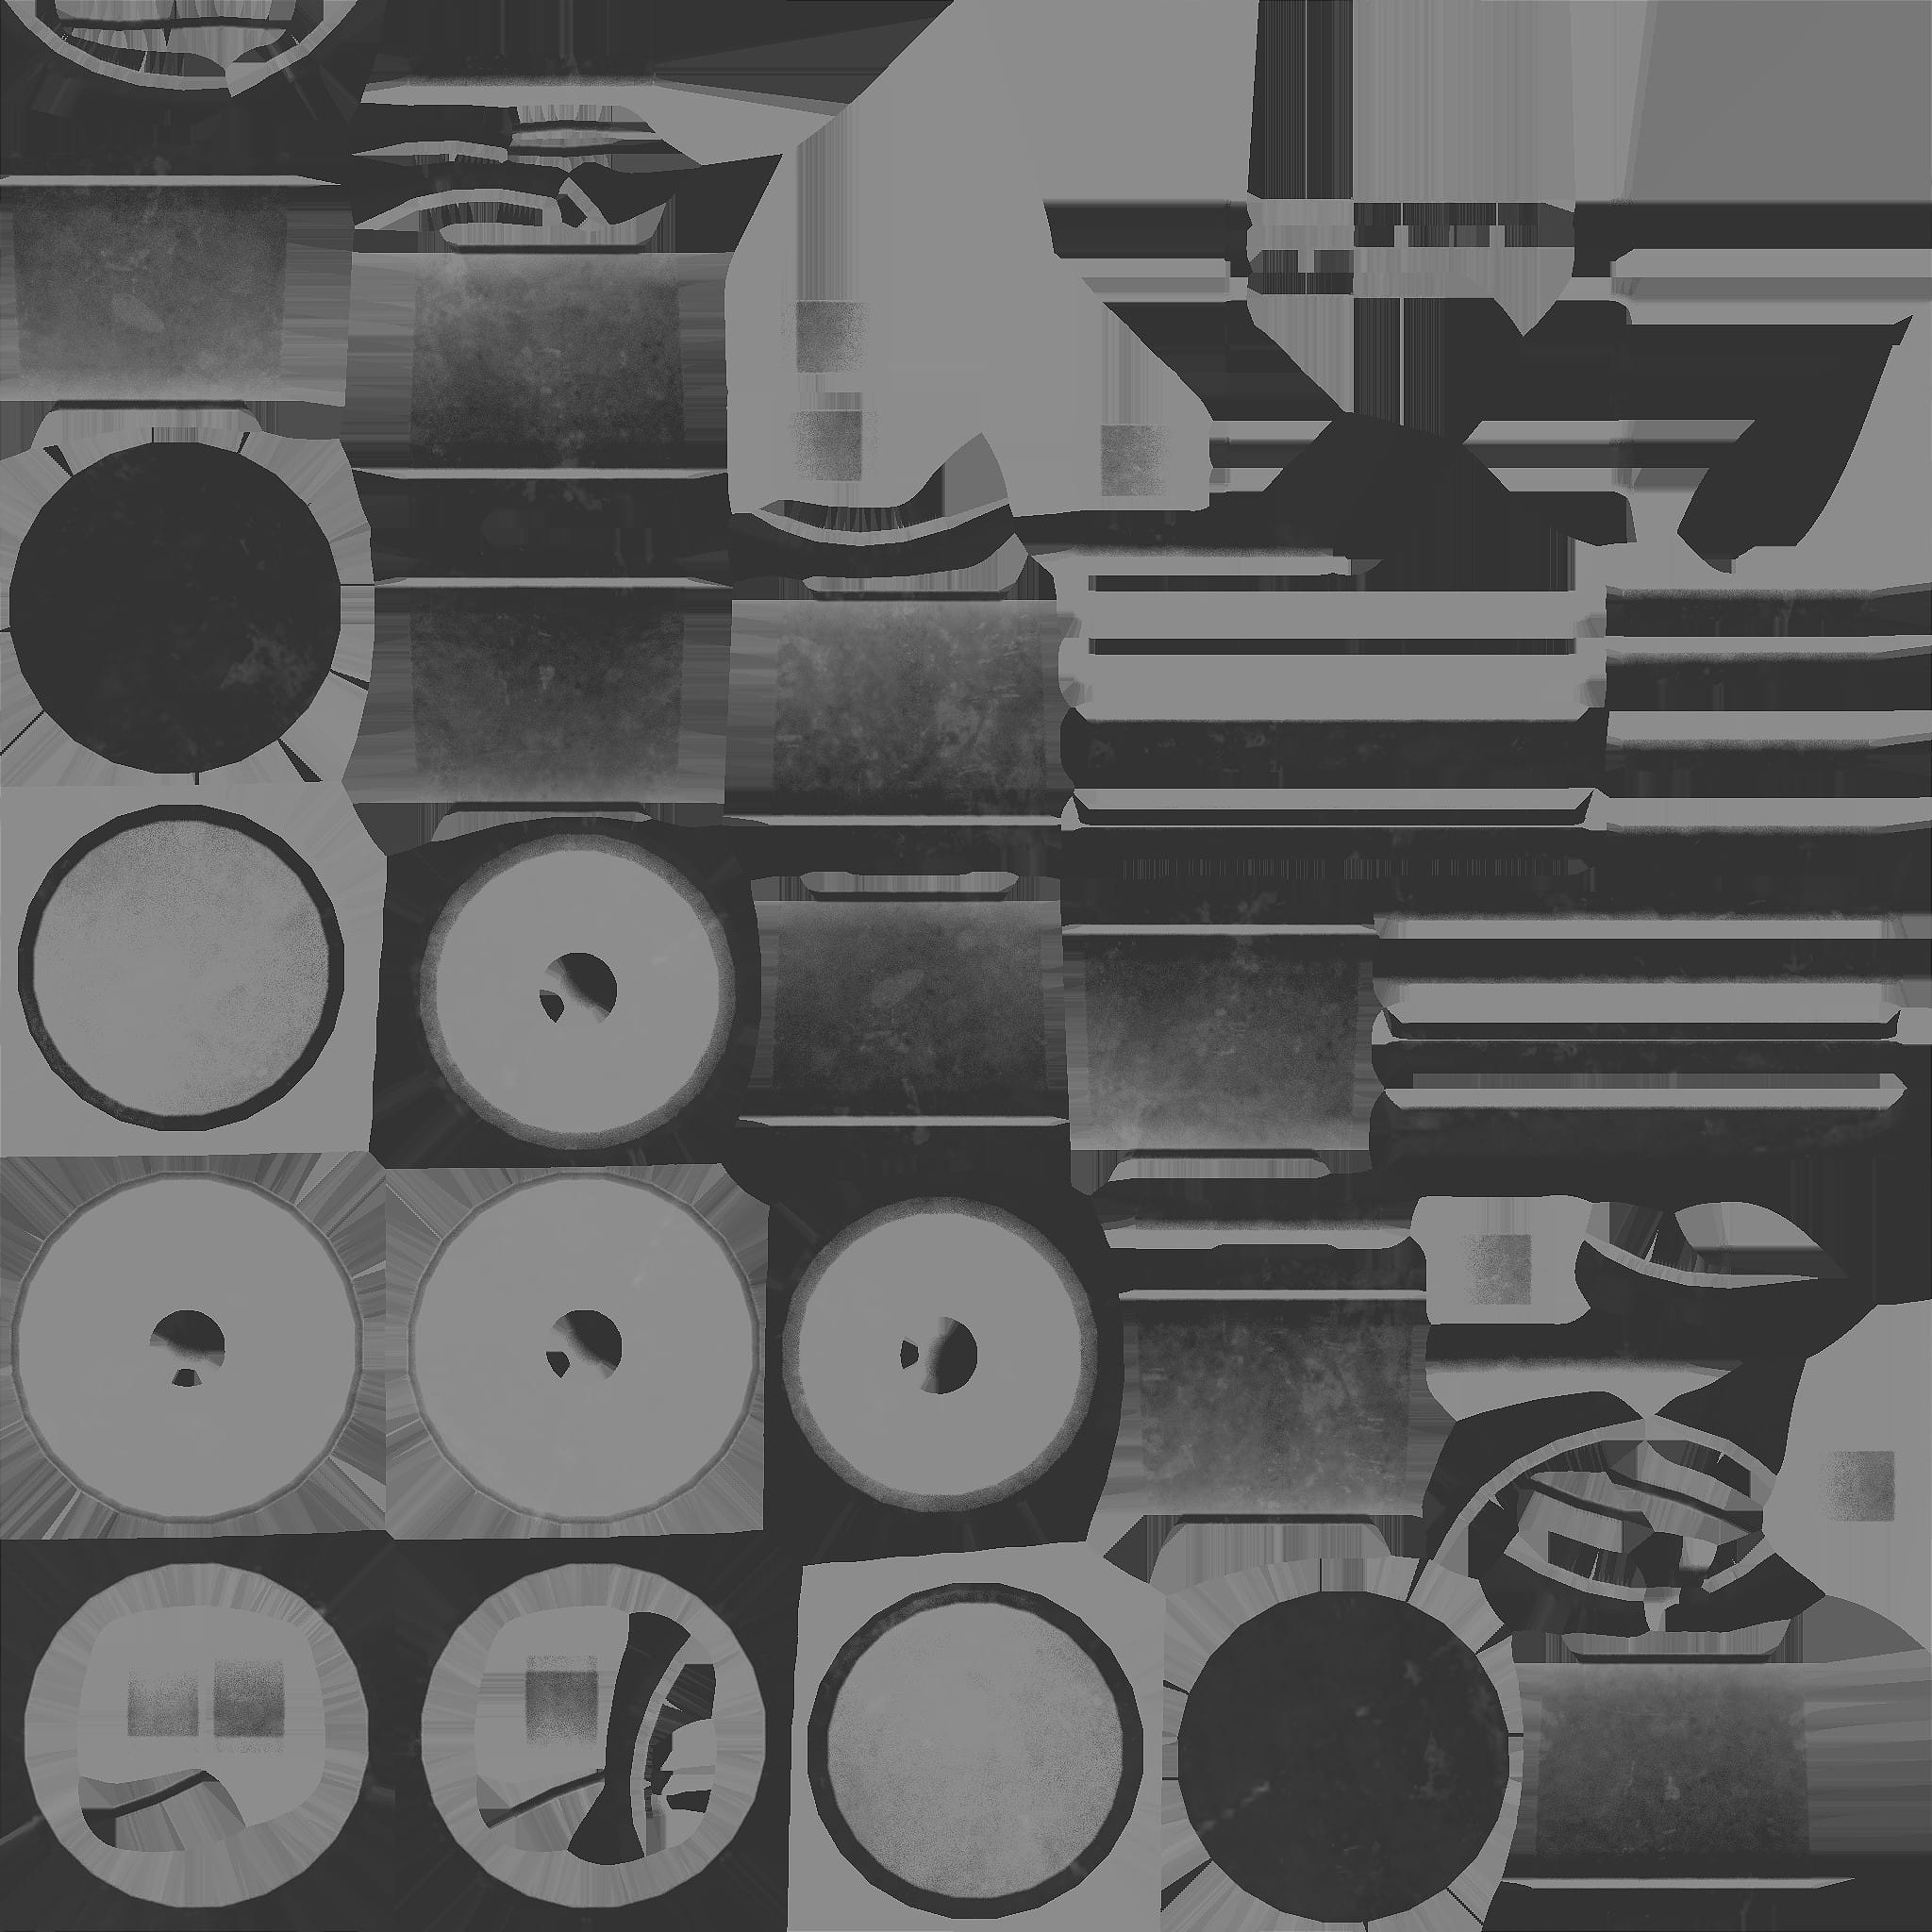
  • Texture Mapping: Apply textures like color, and patterns, or logos using tools like Substance Painter or Photoshop. And then set up materials in 3D based on the surface properties (e.g., metal, wood, plastic)
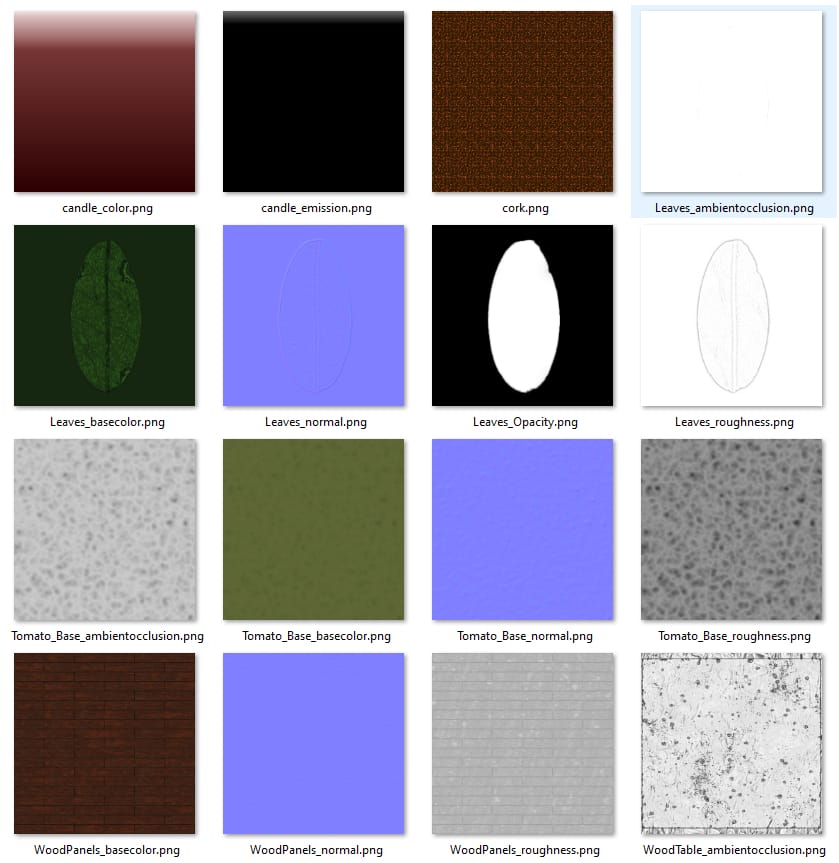
  • UV Mapping: Ensure textures align seamlessly with the 3D model.

4. Lighting & Camera Setup

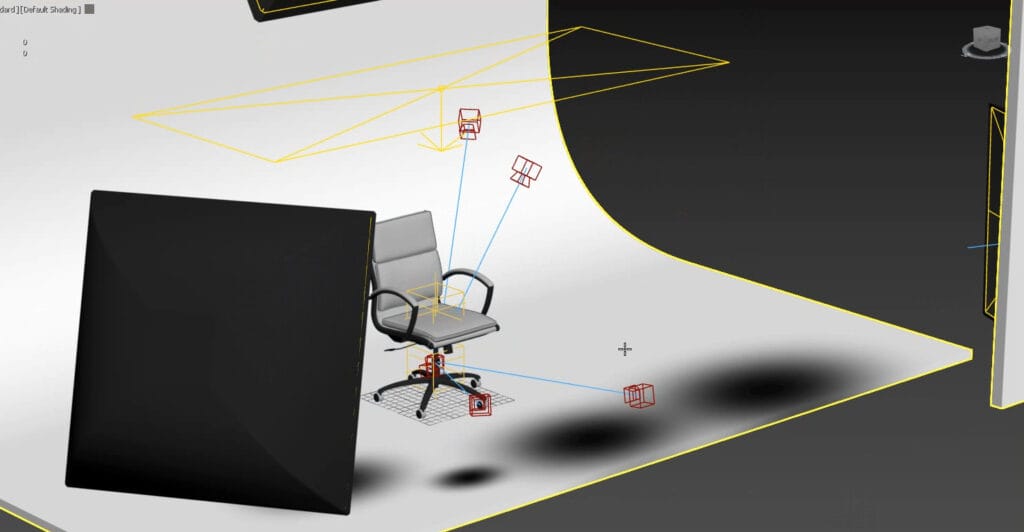
Lighting plays a crucial role in achieving a realistic look. Different Products require different studio lighting setups. For example, a piece of jewelry will not look good in a setup that was prepared for furniture rendering. 3D Visualization studios like 7CGI usually have a collection of prebuilt studio setups. Which generally requires slight adjustment while rendering as every product is unique. If such a studio setup is not available the following process is followed-
  • Scene Lighting: Set up light sources, such as HDRI environments, spotlights, or area lights, to simulate real-world conditions. Screenshot of the studio lighting
  • Shadows and Reflections: Change the light source position to adjust shadows and reflections for added realism.
  • Perspective Selection: Position cameras to showcase the product’s best angles. Set up multiple cameras if you need multiple views. Rig cameras or the product with a 3ds max default helper for 360° product video if required.

5. Rendering

A prebuilt studio scene comes along with the right render setup. If the scene is made from scratch, then the default render setup will require some adjustment. Make sure a decent rendering engine like V-Ray, KeyShot, or Corona Renderer is installed. Adjust resolution, anti-aliasing, and other parameters to achieve the desired quality. The prepared 3D scene is rendered into high-quality images or videos.

6. Post-Processing

The rendered output undergoes final adjustments to enhance the rendered images further. Good render engines such as corona and vray offer some great post production options in their built in frame buffer. So much so that unless you are after massive post production you can avoid switchig to a third party tools for post prodcution work. Meaning you do not need to use software like Photoshop or After Effects for color correction, contrast adjustments, and sharpening.

7. Delivery and Final Review

  • Client Feedback: Share the final renders with the client for approval.
  • Revisions: Make any requested changes or refinements.
  • Final Delivery: Provide the output in the required formats (e.g., Images, 3D Models, or video files).
 

How Long Does it Take?

It is common to ask how long each step of the process takes, and it is good to know. However, the time required greatly depends on the product’s complexity, the number of products, and the project’s deliverables. The main variable of a 3D Product Rendering Project is the complexity of the product. So, let’s categorize the product to get a general idea.

2 to 6 hours-

Simple products are the ones that avoid organic shapes such as curvings, wrinkles, etc. Tables, cabinets, bottles, kitchen utensils, etc, generally fall under the simple category due to their simplistic shapes.

Time Breakdown-

Concept and planning- 10 mins to an hour.
3d modeling- 30 mins to a couple of hours.
Texturing and Material Application- 10 minutes to an hour.
Lighting & Camera Setup- 10 mins to 30 mins
Rendering- 10 mins to 30 mins.
Post-processing- 10 mins to 30 mins.

Summary-

So, with the best-case scenario- You will get a decent 3D Product Render in 1.5 hours or so. And with the complex-case scenario, you will still get the job done in 5-6 hours.
 

5 to 15 hours-

These products have organic shapes but are still easier to make due to having similar patterns throughout or not requiring an advanced approach to make the 3D Model. Remember, an eyeglass can take more time to make than a bed. It’s not about the size of the object. It’s about the shape of it.

Time Breakdown-

Concept and planning- 10 mins to an hour.
3d modeling- 3 to 10 hours.
Texturing and Material Application- 1 to 2 hours.
Lighting & Camera Setup- 10 mins to 30 mins
Rendering- 10 mins to 30 mins.
Post-processing- 10 mins to 30 mins.

Summary-

So, for a 3d product model of moderate complexity with the best-case scenario- You will get a decent 3D Product Render in 4.5 to 5 hours. And with the complex-case scenario, you will still get the job done in 14 to 15 hours.
 

20 to 50 hours- 

These have organic shapes but are still easier to make due to having similar patterns throughout or not requiring an advanced approach to make the 3D Model. Remember, an eyeglass can take more time to make than a bed. It’s not about the size of the object. It’s about the shape of it.

Time Breakdown-

Concept and planning- 30 mins to an hour.
3d modeling- 15 to 50 hours.
Texturing and Material Application- 2 to 3 hours.
Lighting & Camera Setup- 10 mins to 30 mins
Rendering- 10 mins to 30 mins.
Post-processing- 10 mins to 30 mins.

Summary-

So, for a 3d product model of this complexity with the best-case scenario- You will get a decent 3D Product Render in 18 to 20 hours. And with the complex-case scenario, you will still get the job done in around 50 hours.

50 to 100 hours-

These products have organic and various complex shapes. The artists model different parts individually and put the pieces together to make the entire product. It takes effort to make the texture map, too. Requires blending and working composite materials.
 

Time Breakdown-

Concept and planning- 30 mins to an hour.
3d modeling- 30 to 75 hours.
Texturing and Material Application- 5 to 10 hours.
Lighting & Camera Setup- 30 mins to 2 hours
Rendering- 30 mins to 1 hour.
Post-processing- 30 mins to 1 hour.
 

Summary-

So, for this category of products, with the best-case scenario- You will get a decent 3D Product Render in 35 to 40 hours. And with the complex-case scenario, it will take around 90- 100 hours.
 
In this section, we covered a topic that might seem open-ended. We tried to set some boundaries and give some idea about the time. The above numbers might change based on the project’s purpose, the number of variations, and the viewing angles required. If you are looking to build a 3d product configurator or 3D Product Animation, then the picture will change totally. The configuration can cost as little as $3000 to $15000. While Animation can cost as low as $1500 to $5000.
 
We also came to know that lighting+Rendering+Post processing almost take the same amount of time regardless of the complexity of the product.

How much does it cost-

You get the idea of the number of hours required. Now, multiply those numbers with an hourly rate. The rate depends greatly on the service providers’ location, availability, and expertise. We have covered a comprehensive article on product rendering prices.

The Benefits of 3D Product Rendering

In modern days, many products go for 3D printing before manufacturing. In this case, 3D product rendering is mainly used for design visualization (conceptualization) and design validation so that multiple prototypes can be avoided and perfection can be easily achieved.
 
Product rendering is required to explain the functionality of complex products, such as making manuals and books on medical equipment and aircraft. Pilots train using simulations based on accurate 3D models of cockpits and equipment.
 
3D product rendering is becoming more and more popular. Various industries leverage this tech to improve their processes, from conceptualization to marketing and ads, ensuring precision, efficiency, and a more engaging customer experience. It is also about staying at the top of the latest technology and maintaining a high brand image.

Types of 3D Product Rendering

Catalog Rendering

It is about creating high-quality, still images of products. These images are used in things like catalogs, websites, and advertisements. The goal is to show the product clearly and attractively to potential customers. This includes white background product images for catalog. Inlcude some white background product shots

Interactive Rendering:

Interactive 3D Product Rendering lets customers interact with a product in a more detailed way. This is often called a “3D product configurator,” which helps customers understand the product better before purchasing. It allows them to:
 
  • Rotate the product to see it from different angles.
  • Zoom in to look at specific parts more closely.
 
Augmented reality is one of the latest additions to the interactive 3D product Rendering, which means they can see a 3D version of the product as if it were in the real world. View the product in their own spaces. Include the AR version of the chair
AR is not supported on this device

Product Animation:

3D Product Rendering that present a product’s functionality or design, best for product marketing videos. Include the nail polish part of the video.

Virtual Staging:

Virtual Staging is the process of creating in-situ lifestyle images, also known as mood images. This branch, commonly used in furniture rendering, shows products in hyperreal environments.

360 product video

A 360 product video is comparable to an interactive product viewer which gives customers a 360-degree view of the product. But unlike an interactive viewer, a 360 product video does not allow you to interact directly. A 360 product video is also relevant to this day as it gives a more realistic look and is a video content.

Pain Points and Solutions 

Everyone faces different challenges when it comes to creating impactful marketing content. If you have a product to sell, you need two key things: great marketing content and effective marketing strategies.

3D product rendering is a powerful tool for creating exceptional marketing content. However, when considering outsourcing 3D rendering, you might encounter some common pain points:

  1. It’s expensive.
  2. It takes too long.
  3. Service providers often lack marketing knowledge.

Expensive-

3D Product Rendering requires 3D modeling of the product, Which requires skilled 3D modelers, and it takes a significant amount of time to produce a detailed and accurate 3d product model.

Long Turnaround Times

You should know by now that not all products take a long time. However, your project may take a long time if the number of images gets high. If you need a high volume of simple 3D product renderings done, then it will take a long time despite being simple products.

Lack of Marketplace & Marketing knowledge

This can also be a challenge when creating 3D product renderings. It’s not just about producing a visually appealing image; understanding how to position the product in a way that resonates with the target audience is crucial.


Solution-

3D Product Rendering Services are becoming affordable day by day as technology advances. The greatest saving could be to hire the right 3D Rendering Service Providers who stay up to date with the latest software releases and overall 3D technology. Please read our detailed blog about 3d product rendering costs to learn how to best determine the cost for your project. It discusses all possible solutions that can be rewarding to read before you hire a 3d rendering company.
  • Explore Long-Term Partnerships: Building long-term relationships with a rendering studio can often lead to discounted rates, faster turnarounds, and more personalized service.
  • Bundle Projects: Combining multiple products into one project can help negotiate better pricing with service providers.
  • Freelancer Collaboration: While studios are great for high-quality work, experienced freelancers can sometimes provide more affordable options for smaller or simpler projects.
  • Parallel Workflow: Work with a studio that can divide tasks like modeling, rendering, and editing among team members simultaneously to shorten project duration.
  • Incremental Deliveries: Ask for staggered deliveries where parts of the project are completed and reviewed in phases, keeping the momentum going.
  • Optimized Feedback Cycles: Provide prompt, clear, and consolidated feedback to minimize back-and-forth revisions that can delay the timeline.
  • Marketing Consultation Add-Ons: Some rendering studios offer marketing consultancy as part of their service package, which can be particularly useful for strategy alignment.
  • AI-Powered Tools: Studios using AI tools for rendering or editing can often deliver faster and more affordable results without compromising quality.
  • Transparent Processes: Collaborate with studios that provide clear timelines, budgets, and milestones to avoid surprises and keep the project on track.
  • Look for experience with similar products or projects in a 3D rendering studio. If your product is unique, seek expertise, reviews, and a good reputation. If you have a large volume of products that need to be completed quickly, look for a large team. A great team can identify ways to automate parts of the process.
  • Collaborate with a 3D rendering studio that has a strong marketing background or partners with marketing experts. This ensures that the renderings not only look great but also align with your brand’s messaging and marketing goals. Additionally, providing clear briefs and feedback can help the studio better understand your vision and market needs. Also, If you plan to sell on Amazon, eBay, Costco, or similar places, make sure your vendor is familiar with the platform or has done it before.

Best Tools and Software for 3D Product Renderings

3D artists use a variety of software scripts and plugins for efficiency and great results. In the world of 3D product rendering, having the right tools can make all the difference.

Main Course-


1. Autodesk 3ds Max

For great 3D Product Modeling. Great with Rendering engines like Vray and Corona. A favorite among 3D artists, 3ds Max is known for its robust modeling, animation, and rendering capabilities. With an extensive library of plugins and compatibility with rendering engines like V-Ray and Arnold, it’s ideal for creating detailed product visuals.

2. Blender

For those seeking a free yet highly versatile option, Blender is a top choice. It offers advanced features like real-time rendering with its Eevee engine, photorealistic rendering using Cycles, and powerful modeling tools—all at no cost.
 

3. Maya

Maya is a leading 3D modeling and animation software used in film, TV, and gaming. It offers robust tools for modeling, texturing, lighting, and rendering. Known for its character animation capabilities, Maya excels in rigging and skinning. Its flexibility and integration with other software make it a top choice for complex animations and visual effects.
 

4. Houdini

Houdini is renowned for its procedural generation capabilities, making it a favorite in the VFX industry. It’s used for creating complex simulations and visual effects, thanks to its node-based workflow. Houdini excels in dynamic simulations like smoke, fire, and fluids. Its flexibility allows artists to create intricate effects with ease.
 

5. Cinema 4D

Known for its user-friendly interface, Cinema 4D excels in 3D modeling, animation, and rendering. Its compatibility with rendering engines like Redshift and Octane makes it a popular choice for product visualization and marketing content.
 

Comparison-

When selecting 3D rendering software, it’s essential to consider factors like ease of use, photorealism, cost efficiency, versatility, and popularity. Here’s a comparative overview of five leading tools:
Software
Ease of Use
Photorealism
Cost Efficiency
Versatility
Popularity
3ds Max
7
9
5
9
8
Blender
9
8
10
9
9
Cinema 4D
8
8
6
8
7
Maya
6
9
5
9
9
Houdini
5
10
4
10
7
 

Rendering Engines-

1. KeyShot

KeyShot is celebrated for its ease of use and fast rendering. With a real-time rendering workflow and a vast library of materials and environments, it’s perfect for creating realistic product visuals without requiring steep technical expertise.
 

2. V-Ray

A rendering engine used with tools like 3ds Max, SketchUp, and Maya, V-Ray is renowned for its photorealistic output. Its global illumination and advanced lighting algorithms make it ideal for creating realistic product renders.

3. Corona Renderer

Simple yet powerful, Corona Renderer is loved for its intuitive workflow and photorealistic output. It integrates seamlessly with 3ds Max and Cinema 4D, making it a favorite for detailed product renderings.

4. Unreal Engine

Unreal Engine is increasingly used for real-time rendering and interactive experiences. It’s perfect for creating immersive product presentations, virtual showrooms, or interactive configurators, offering a high level of detail and realism. Unreal Engine is popular for game development and architectural rendering; it is increasingly being used for product renderings, too.
 
3D Studios like ourselves incorporate all tools, as not all tools are great for every product.
 

Texturing and Material

Substance 3D Painter

While not a rendering tool per se, Substance 3D Painter is invaluable for texturing. It allows artists to create realistic materials and textures, elevating the quality of 3D product renderings.
 

For Specialized Features-

1. Zbrush

Zbrsh is a powerful tool for creating highly detailed and intricate models, especially useful for products with complex organic shapes. Its sculpting capabilities allow artists to add fine details and textures that enhance the realism of 3D product renderings.
 

2. Marvelous Designer

 
Marvelous Designer is ideal for creating realistic fabric simulations, making it perfect for products like clothing, upholstery, or any item that involves textiles. It allows for the creation of dynamic, lifelike drapery and folds, adding authenticity to product visuals.
There is no comparison between Zrbush and Marvelous Designer, as these are for completely different tasks.
By leveraging the right tools and software for the right tasks, 3D artists can push the boundaries of product visualization, ensuring that every render is not only visually stunning but also technically precise.
 

Leading 3D Product Rendering Companies

7CGI: They are recognized as the most competitive 3D product rendering agency from jewelry rendering to packaging rendering.

Renderforest:Focuses on rendering and animation for branding and marketing.

Foyr: Provides furniture and interior design visualization services.

RealSpace 3D: Teleports your focus onto realistic product and architectural rendering.
CG rendering and Cgifurniture

The future and trends of 3D product rendering

Real-Time Rendering: It is much faster to render in real time now with tools like Unreal Engine.
AR and VR Expansion: Businesses are combining these technologies for interactive shopping experiences.
AI-Powered Rendering: AI is improving efficiency and quality in rendering workflows.
Career in 3D Product Rendering: 3D rendering presents vibrant career opportunities across multiple industries, including gaming, advertising, e-commerce, and manufacturing.

Important terms associated with 3D Product Rendering

3D Modeling — The act of making a digital shape of an object in 3D
Rendering Engine: A program that creates high-quality 2-D images from 3D models.
Photorealism: Creating images that cannot be distinguished from real-world photographs.
Textures: These are surface details built on top of 3D models to make them more realistic.
Augmented Reality (AR): Device image to project digital products in the real world.
 

FAQs

what is 3d product rendering?
3D product rendering is a digital visualization technique that uses rendering software to transform three-dimensional computer models into photorealistic images.
How to do 3d product rendering?
Research & Planning → 3D Modeling → Texturing & Materials → Scene Setup → Lighting → Camera Setup → Rendering → Post-Production
What are the applications of 3D product rendering?
3D product renderings are used in Architecture, E-commerce Products, Entertainment and media, and Other Industries.
How long does 3D product rendering take?
The rendering process can take a few hours to several days depending on the Scene’s complexity, Number of objects, Texture detail, Lighting effects, and Output quality requirements.
What file formats are needed for 3D rendering?
  • model files: OBJ, FBX, STL, GLB/gLTF, DAE
  • Texture files: JPEG, PNG, TIFF
  • Technical Files: STP, 3MF
Can 3D rendering be used for prototypes?
Yes, 3D rendering is used to create prototypes for design and visualization purposes.
How much does 3D product rendering cost?
3D product rendering prices depend on complexity and quality. Basic renderings cost $50-$100, standard ones range from $300-$700, and premium photorealistic renderings can go from $700 to $5,000.
What is the difference between 3D rendering and photography?
Photography involves taking pictures of real products in studios where 3D rendering creates digital images using software without needing physical items.

Conclusion

3D product rendering isn’t just a design tool—it’s a transformative technology that improves the way you market your products, streamline workflows and engage with customers. This solution has redefined industries from furniture rendering to advanced vehicle rendering.
From 3D product modeling and rendering, crafting a product animation, to the use of a 3D product configurator — harnessing this technology will take your business to greater heights.
Want to take your products with tomorrow renderings? For unparalleled 3D product rendering, reach out to 7CGI now!

PRODUCT CGI

ARCHITECTURE

3D RENDERING NEWS

NEWS LETTER

Subscribe to the news letter to stay up to date with our latest blogs, projects and 3D Rendering news.

CONTACT US

ABOUT THE AUTHOR

FOUNDER & CREATIVE DIRECTOR

Abdullah has been at the helm of 7cgi Limited since 2015. With a career as a 3D artist that began in 2008, he has positioned himself as an industry thought leader and serves as a mentor to numerous 3D artists today. You can connect with him on LinkedIn to gain from his extensive knowledge and experience.

RELEVANT TOPIC

Interior FInal Rendering
_0007-bright-street-twin_3d-house-rendering_57
How Top Brands Leverage the Power of Photorealistic 3D Rendering

LATEST ARTICLES

Exploring the World of 3D Product Rendering
3D bathroom rendering
A person using a smartphone to interact with a 3D holographic product display
3D Rendering companies
Benefits of Interior 3D Rendering
Hire the Right 3D Artists with Top Skills - 7CGI Guide
Scroll to Top