What is Clay Render?
Clay Render is a term used in the 3D Rendering industry. 3D artists perform Clay Renders prior to adding colors and material to their 3D model.
Before we delve into the details of clay rendering, Let’s visit some examples on Behance.
Why do 3D Artists perform a Clay Render?
1. Focus on Shape and Form:
The shapes and forms of the geometry are more visible in clay renders than after adding colors and patterns as the color and patterns can create distraction. This is why artists use clay render as a preliminary step to assess if the model looks accurate before proceeding with texturing and material.
2. Finding errors:
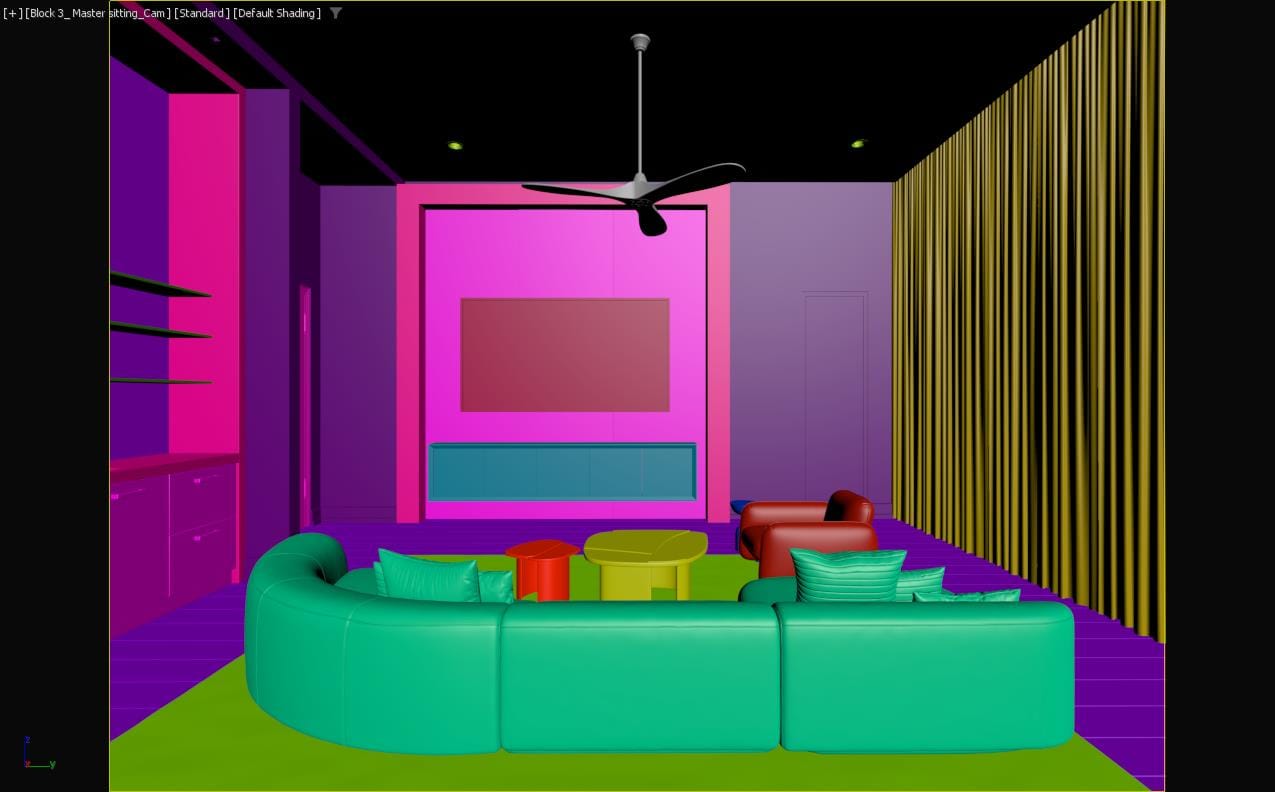
Issues like flipped or overlapping faces can cause great problems while rendering the 3D model. A Clay Rendering exposes those errors.
3. Light Balance:
If we go straight to rendering the colored version, we might end up adjusting materials where the adjustments were necessary for the lighting and vice versa. So, after establishing a perfect clay rendering, we now know where to make the adjustments.
4. Generate previews:
Clay-render renders much faster. They are ideal for generating previews to get approval from the client. For still image projects, 3D artists send multiple clay renders to clients to choose the final viewing angles so that when applying materials or adding details, the artists can focus only on the chosen viewing angles.
A colored version might take multiple times more time than a Clay rendering.
In the case of animations or camera walkthroughs, a clay render performs much better than a viewport grab since a viewport grab does not simulate light.
How to make a Clay Render
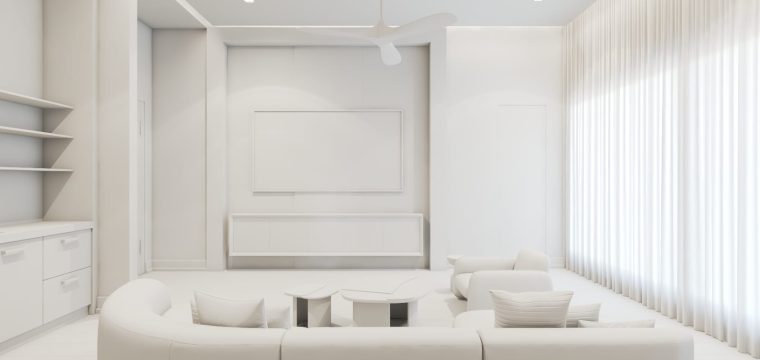
In this blog, I will show how to create a perfect clay render in 3DS Max and Vray. The example we are using is a living room setup we did for a house in NY.
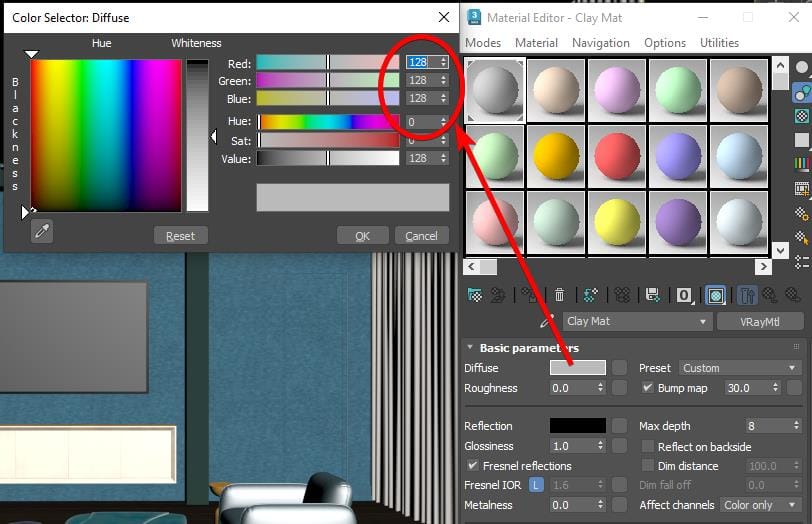
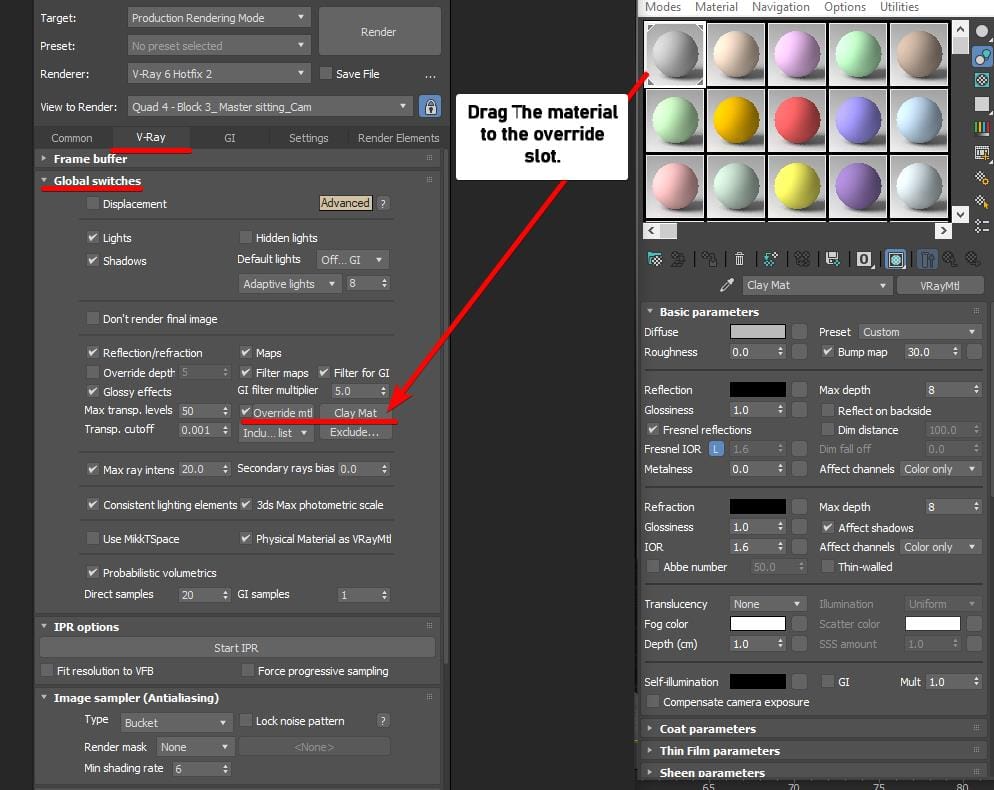
First, we will set up the material. It is a simple V-Ray material with a 128 RGB diffuse color.
Then, drag and drop this material to the override material section of the Vray render setup.
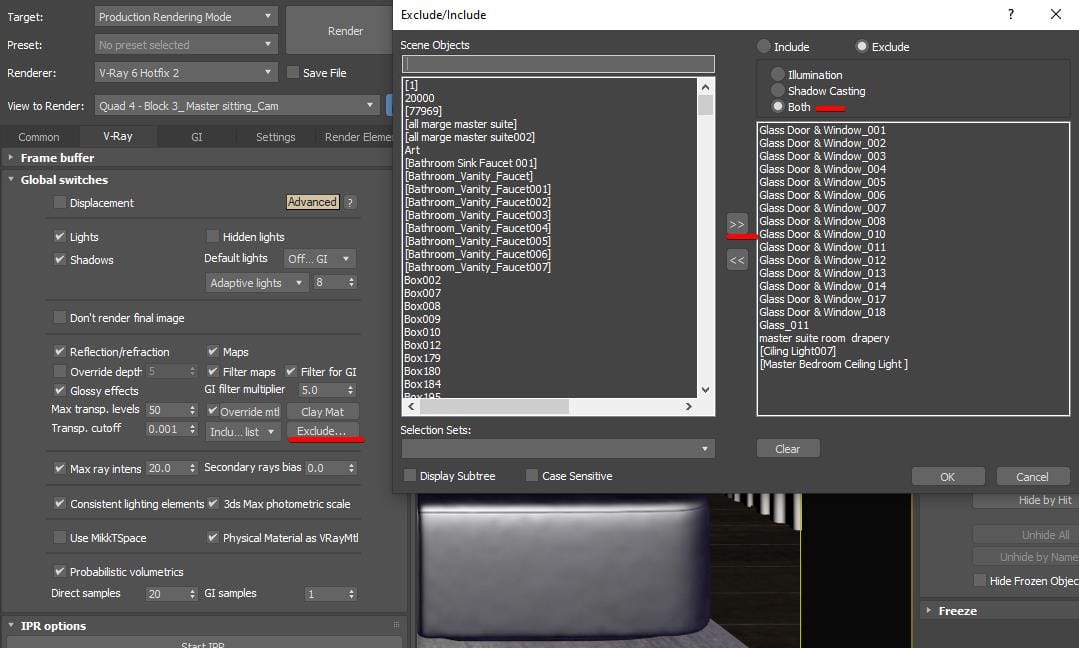
Then, make sure to exclude geometries with transparent and semi-transparent materials. So that you can see through where necessary and all lights in the scene simulate properly.
Here is the difference between the two clay renders. The left one is with all geometries included and the right one is with the curtain excluded from the override material.
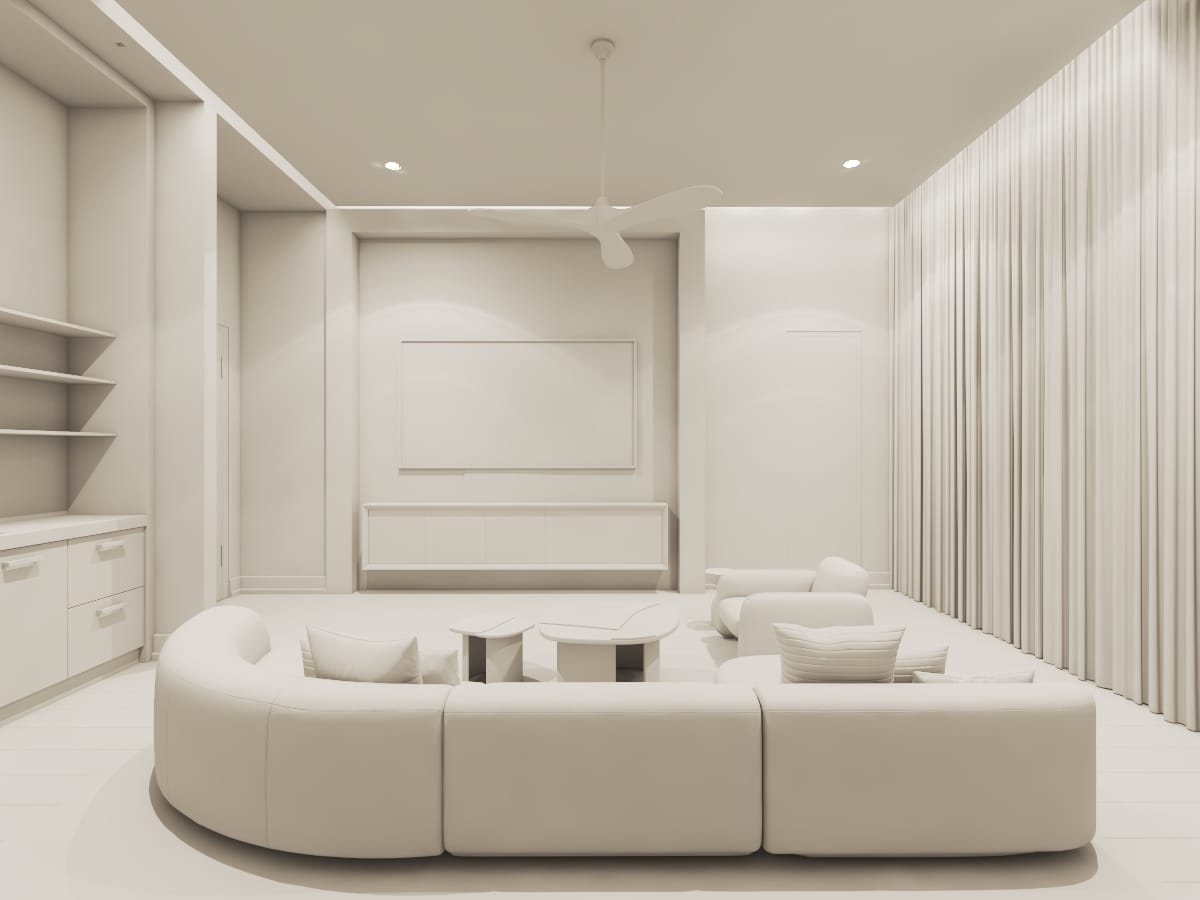
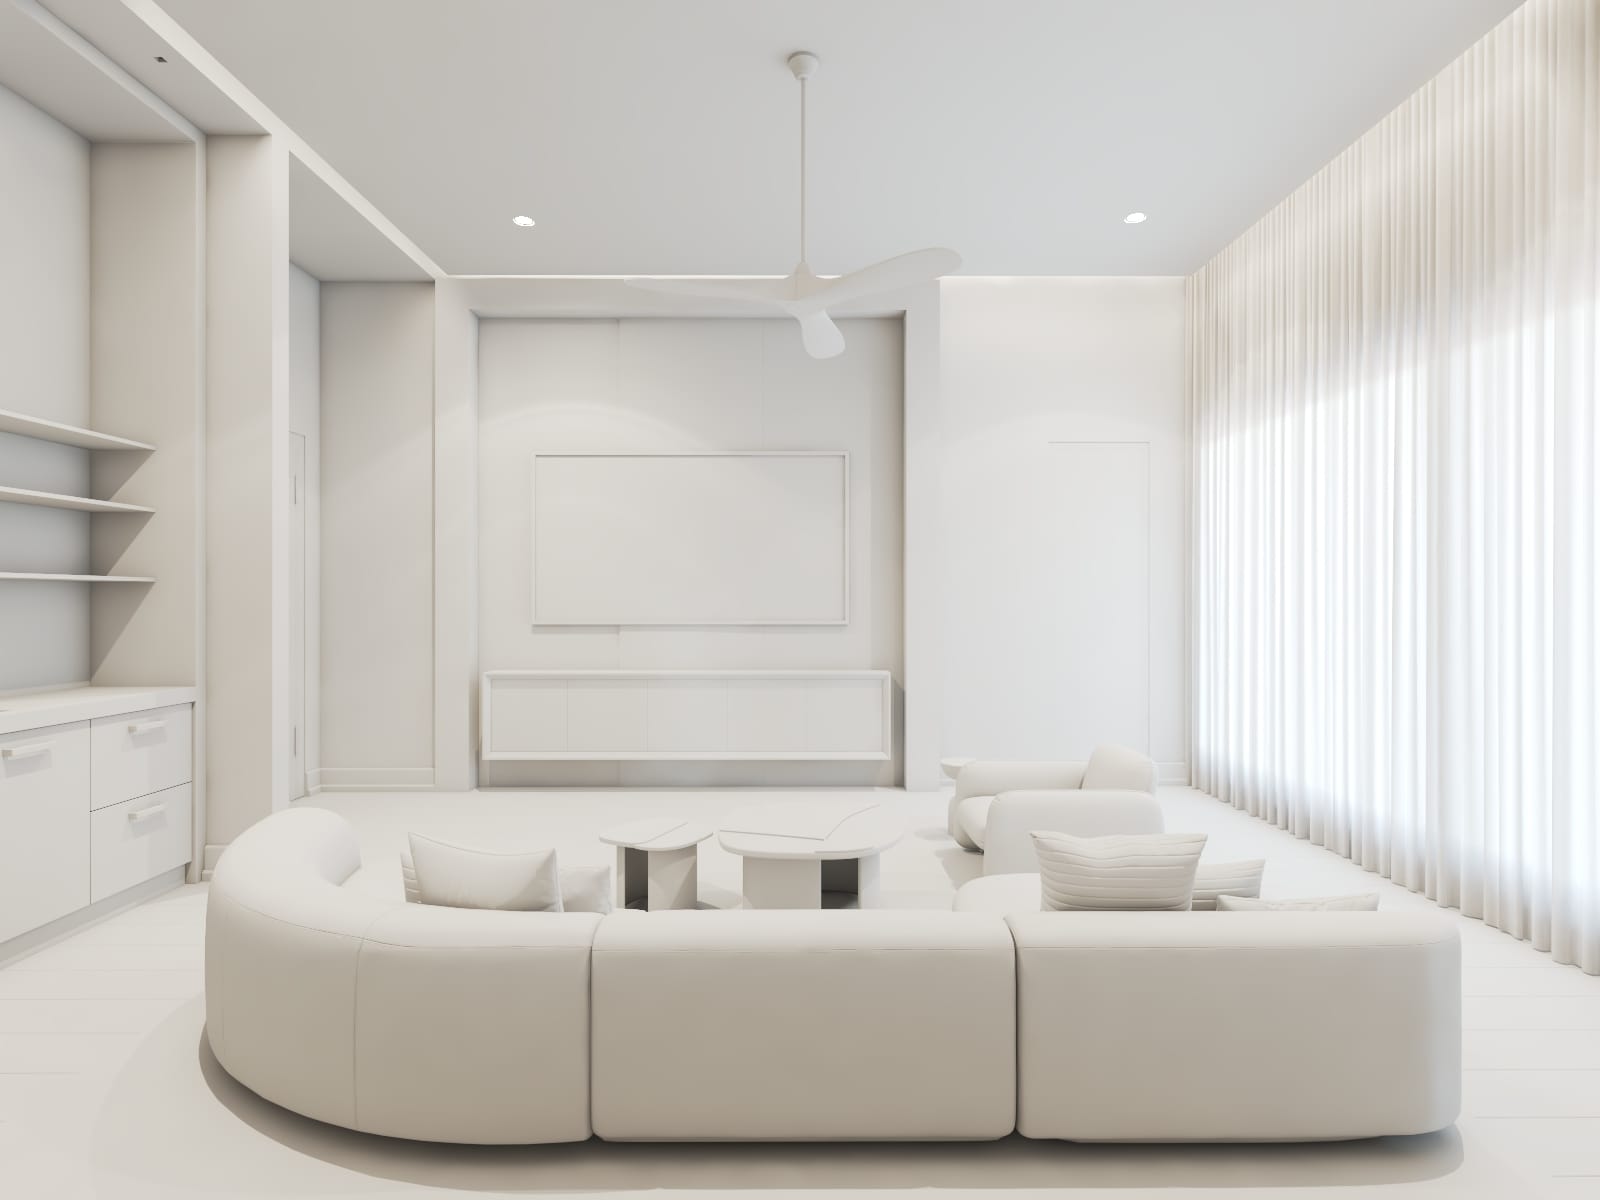
Here is the RGB beauty pass straight from the Vray frame buffer-
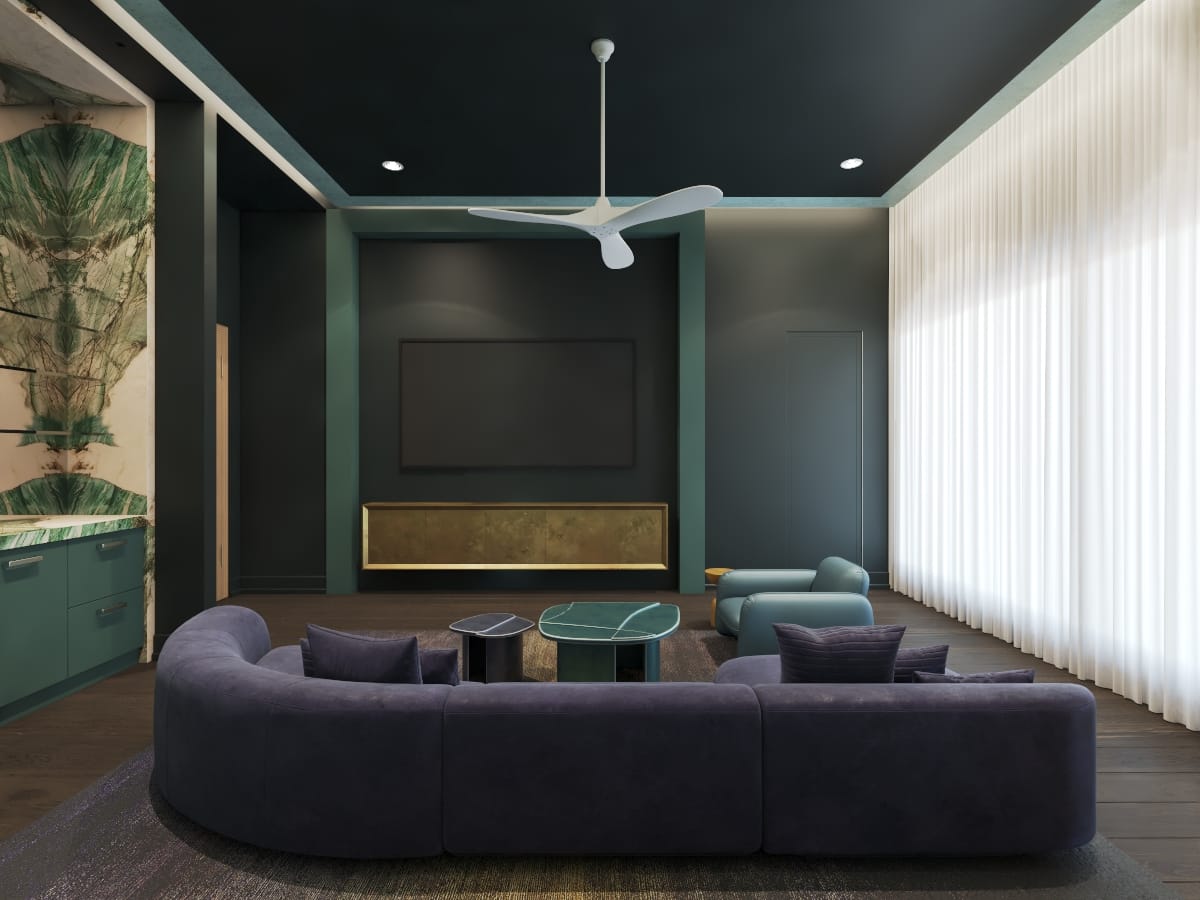
So, the rendering might feel a bit dark, and you might have tried to increase the intensity of the light sources. But the clay render below confirms that the lights or properly balanced. The average brightness is already above 128 RGB. The dark materials that are used throughout the scene make us feel that way. So, if we need a brighter feeling in the interior rendering, we must switch to a brighter color schedule.
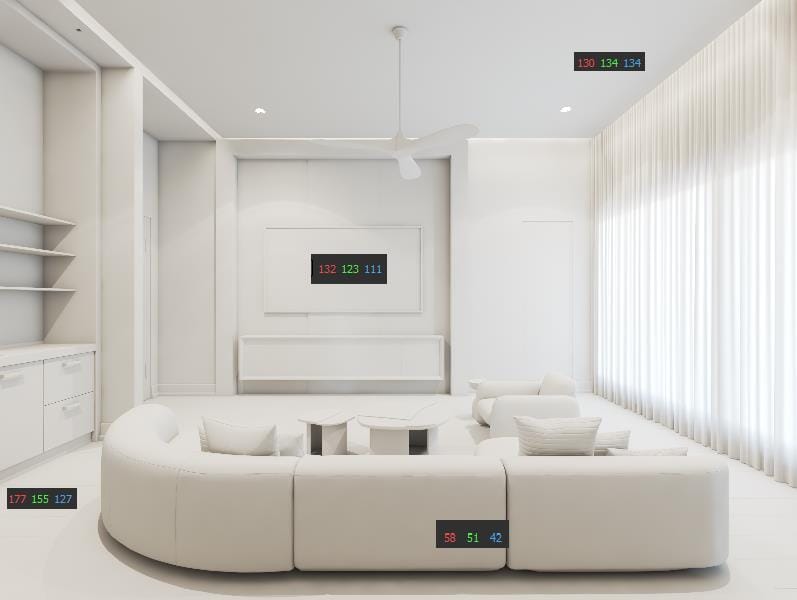
With clay renderings, we can easily test the scene to make sure that the result we will get in the CGI if we execute these materials in construction.
Clay render is fast and does not take much effort, but it can save you hours and prevent you from creating unnatural results. We create beautiful interiors regularly. To stay up to date about our projects, keep an eye on our blog. Visit this to learn about our interior rendering services. You can directly email me at [email protected]

